¶ Overview
(courtesy of Wikipedia and web.dev)
The WebSocket protocol enables interaction between a web browser (or other client application) and a web server with lower overhead than half-duplex alternatives such as HTTP polling, facilitating real-time data transfer from and to the server.
This is made possible by providing a standardized way for the server to send content to the client without being first requested by the client, and allowing messages to be passed back and forth while keeping the connection open. In this way, a two-way ongoing conversation can take place between the client and the server.
The communications are usually done over TCP port number 443 (or 80 in the case of unsecured connections), which is beneficial for environments that block non-web Internet connections using a firewall.
Sockets
The WebSocket specification defines an API establishing "socket" connections between a web browser and a server. In plain words: There is an persistent connection between the client and the server and both parties can start sending data at any time.
Microblocks implementation of the Websocket protocol uses port 81, and it does not use secure sockets due to memory overhead.
Message format is: ws://IP address:81
eg: if your server local address is 192.168.1.38, to send and receive messages, you would format your requests as: ws://192.168.1.38:81 .
Devices communicating with the WebSocket protocol have to be present on a shared IP network, e.g.: local WIFI.
First thing to do is to use the WIFI library blocks to sign-on to the local IP network and obtain an IP address. The IP address is the one that will be used communicate with the server, so it is a good idea to make a note of it. It is always possible to look it up later via the WIFI library's IP address block:

Once the server device is on the local IP network, up to five remote devices can establish links to it and exchange data using a bi-directional connection. Each remote connection is assigned a ClientID (0-4) which can be used to selectively address the individual remote connections for data exchange.
For an example of multiple client interaction with the Websocket server, refer to the WiFi Remote Control with WebSocket article in our WIKI.
¶ Summary of Blocks
For each block, there is a short description entry and a detailed block and component description. You can click on block pictures in the short description table to access the details and sample codes.
Sample codes on how to use the blocks have been provided. To try them out, all you have to do is open a browser session of the MicroBlocks IDE and drag and drop them onto the editor programming area. Then you can just click on them and see the results.
To test any of the sample codes below, just drag and drop them onto the MicroBlocks IDE.
¶ Working with Library Blocks
WebSocket Library has two distinct types of block shapes:
-
oval: these are reporter blocks that return some kind of information back. The user would normally either assign these to a project variable or use it in a suitable input slot of other blocks.
-
rectangular: these are command blocks that perform a programmed function and do not return any information.
¶ Block Descriptions
¶ Start WebSocket Server

Once the WIFI signon is completed and an IP adress is obtained from the local router, this block initiates the WebSocket server. In a typical use case, you would need to implement a message loop that will be receiving packets from the clients and dispatching them based on their content.
For various examples, see the WIFI Remote Control Methods section of our WIKI.
¶ Sample Code
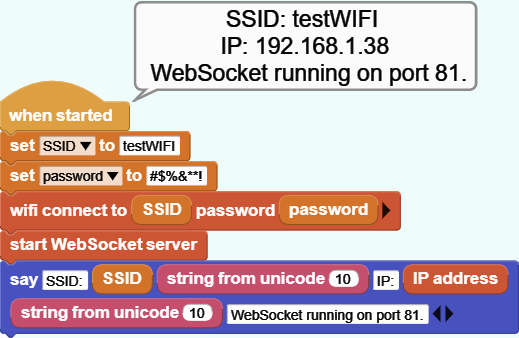
This example demonstrates logging in to the local WIFI and then starting the Websocket server. WIFI credentials are displayed.
Remember to substitute your own SSID and PASSWORD values.

¶ Last WebSocket Event

Each message the protocol receives is considered an event. The event object is used in other blocks below to link and decipher the message and its content parts. The default value, when there is no event, is false.
¶ Sample Code
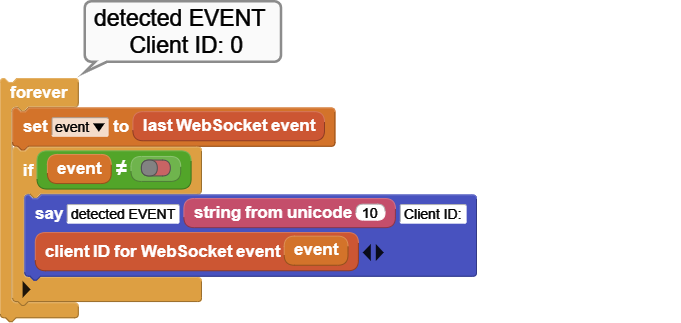
In this example, a WebSocket event is detected and clientID data is extracted from the incoming packet.

¶ Client ID for WebSocket Event

Every connection that is established between the server and the client gets assigned a socket number, which is also called client id (0-4). Maximum for MicroBlocks is 5 clients.
¶ Sample Code
In this example, a WebSocket event is detected and clientID data is extracted from the incoming packet.

¶ Payload for WebSocket Event

This is the actual content of the message received.
¶ Sample Code
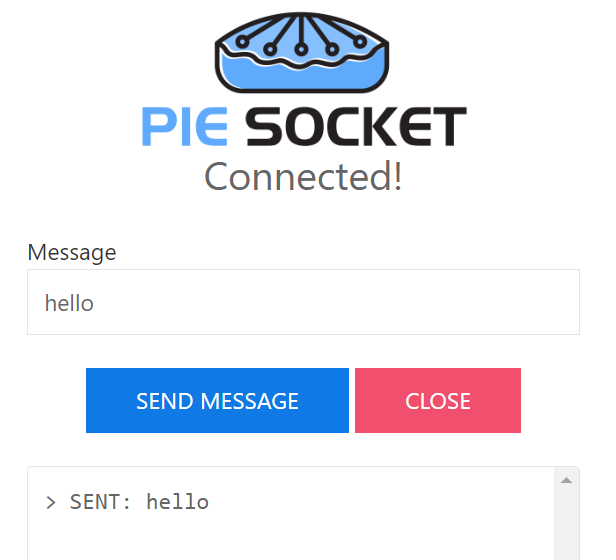
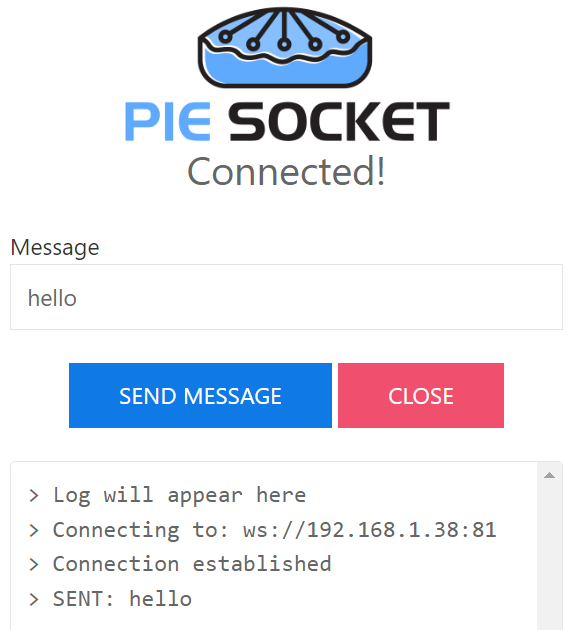
In this example, a remote client (Pie Socket) is sending a message with content: hello". The event is detected by the server and the payload is extracted.


¶ Type of WebSocket Event

WebSocket messages are classified as events. There are several:
error, disconnected, connected, text message, binary message, text fragment start, binary fragment start, fragment, fragment end, ping, pong, waiting
¶ Sample Code
In this example, a remote client (Pie Socket) is sending a message with content: hello. The event is detected by the server and the event type is identified as "text message".


¶ Send to WebSocket Client

With this block, we can send a message to any client that is connected to the server, by using its client id.
¶ Sample Code
In this example, the server is sending a text message to the remote client #0 (Pie Socket), with content Hello, Client #0!. The remote client (Pie Socket) receives the message and displays it on its console.

