¶ Overview
HARDWARE CHANGE NOTIFICATION:
July 2024 timeframe, Robotistan introduced a change with the Temperature & Humidity Sensor and motor controller module. They have switched to I2C version of these modules, which will offer better functionality.
Corresponding changes in the MicroBlocks Library have been implemented as of version 2.7 of the PicoBricks Library.
**Make sure to review the HARDWARE CHANGES described in the set motor and set servo blocks, as well as the Motor Module section in this WIKI for the details.
The PicoBricks is a special board, built by Robotistan for the education sector, combining a RPI Pico (based on the Raspberry Pi Pico) and ten different components on a prewired circuit board design.
A key advantage of this design is that all the components are prewired, so a beginner can start by exploring and coding the components without first doing any wiring. For learners just getting started with electronics, this approach removes the possibility of making frustrating wiring errors, allowing them to be successful from the start. Later, as they grow in confidence and experience, the learner can break apart the board and build selected components into projects.
In short, the PicoBricks board combines the benefits of an all-in-one microcontroller board like the micro:bit with the flexibility of a simple board plus a kit of parts.

¶ YouTube Videos:
PicoBricks Library Demo
PicoBricks OLEDmini Library Demo
¶ Demo programs:
These demo programs cover all the components of the PicoBrick board.
DOWNLOAD: PicoBricks Demo Program
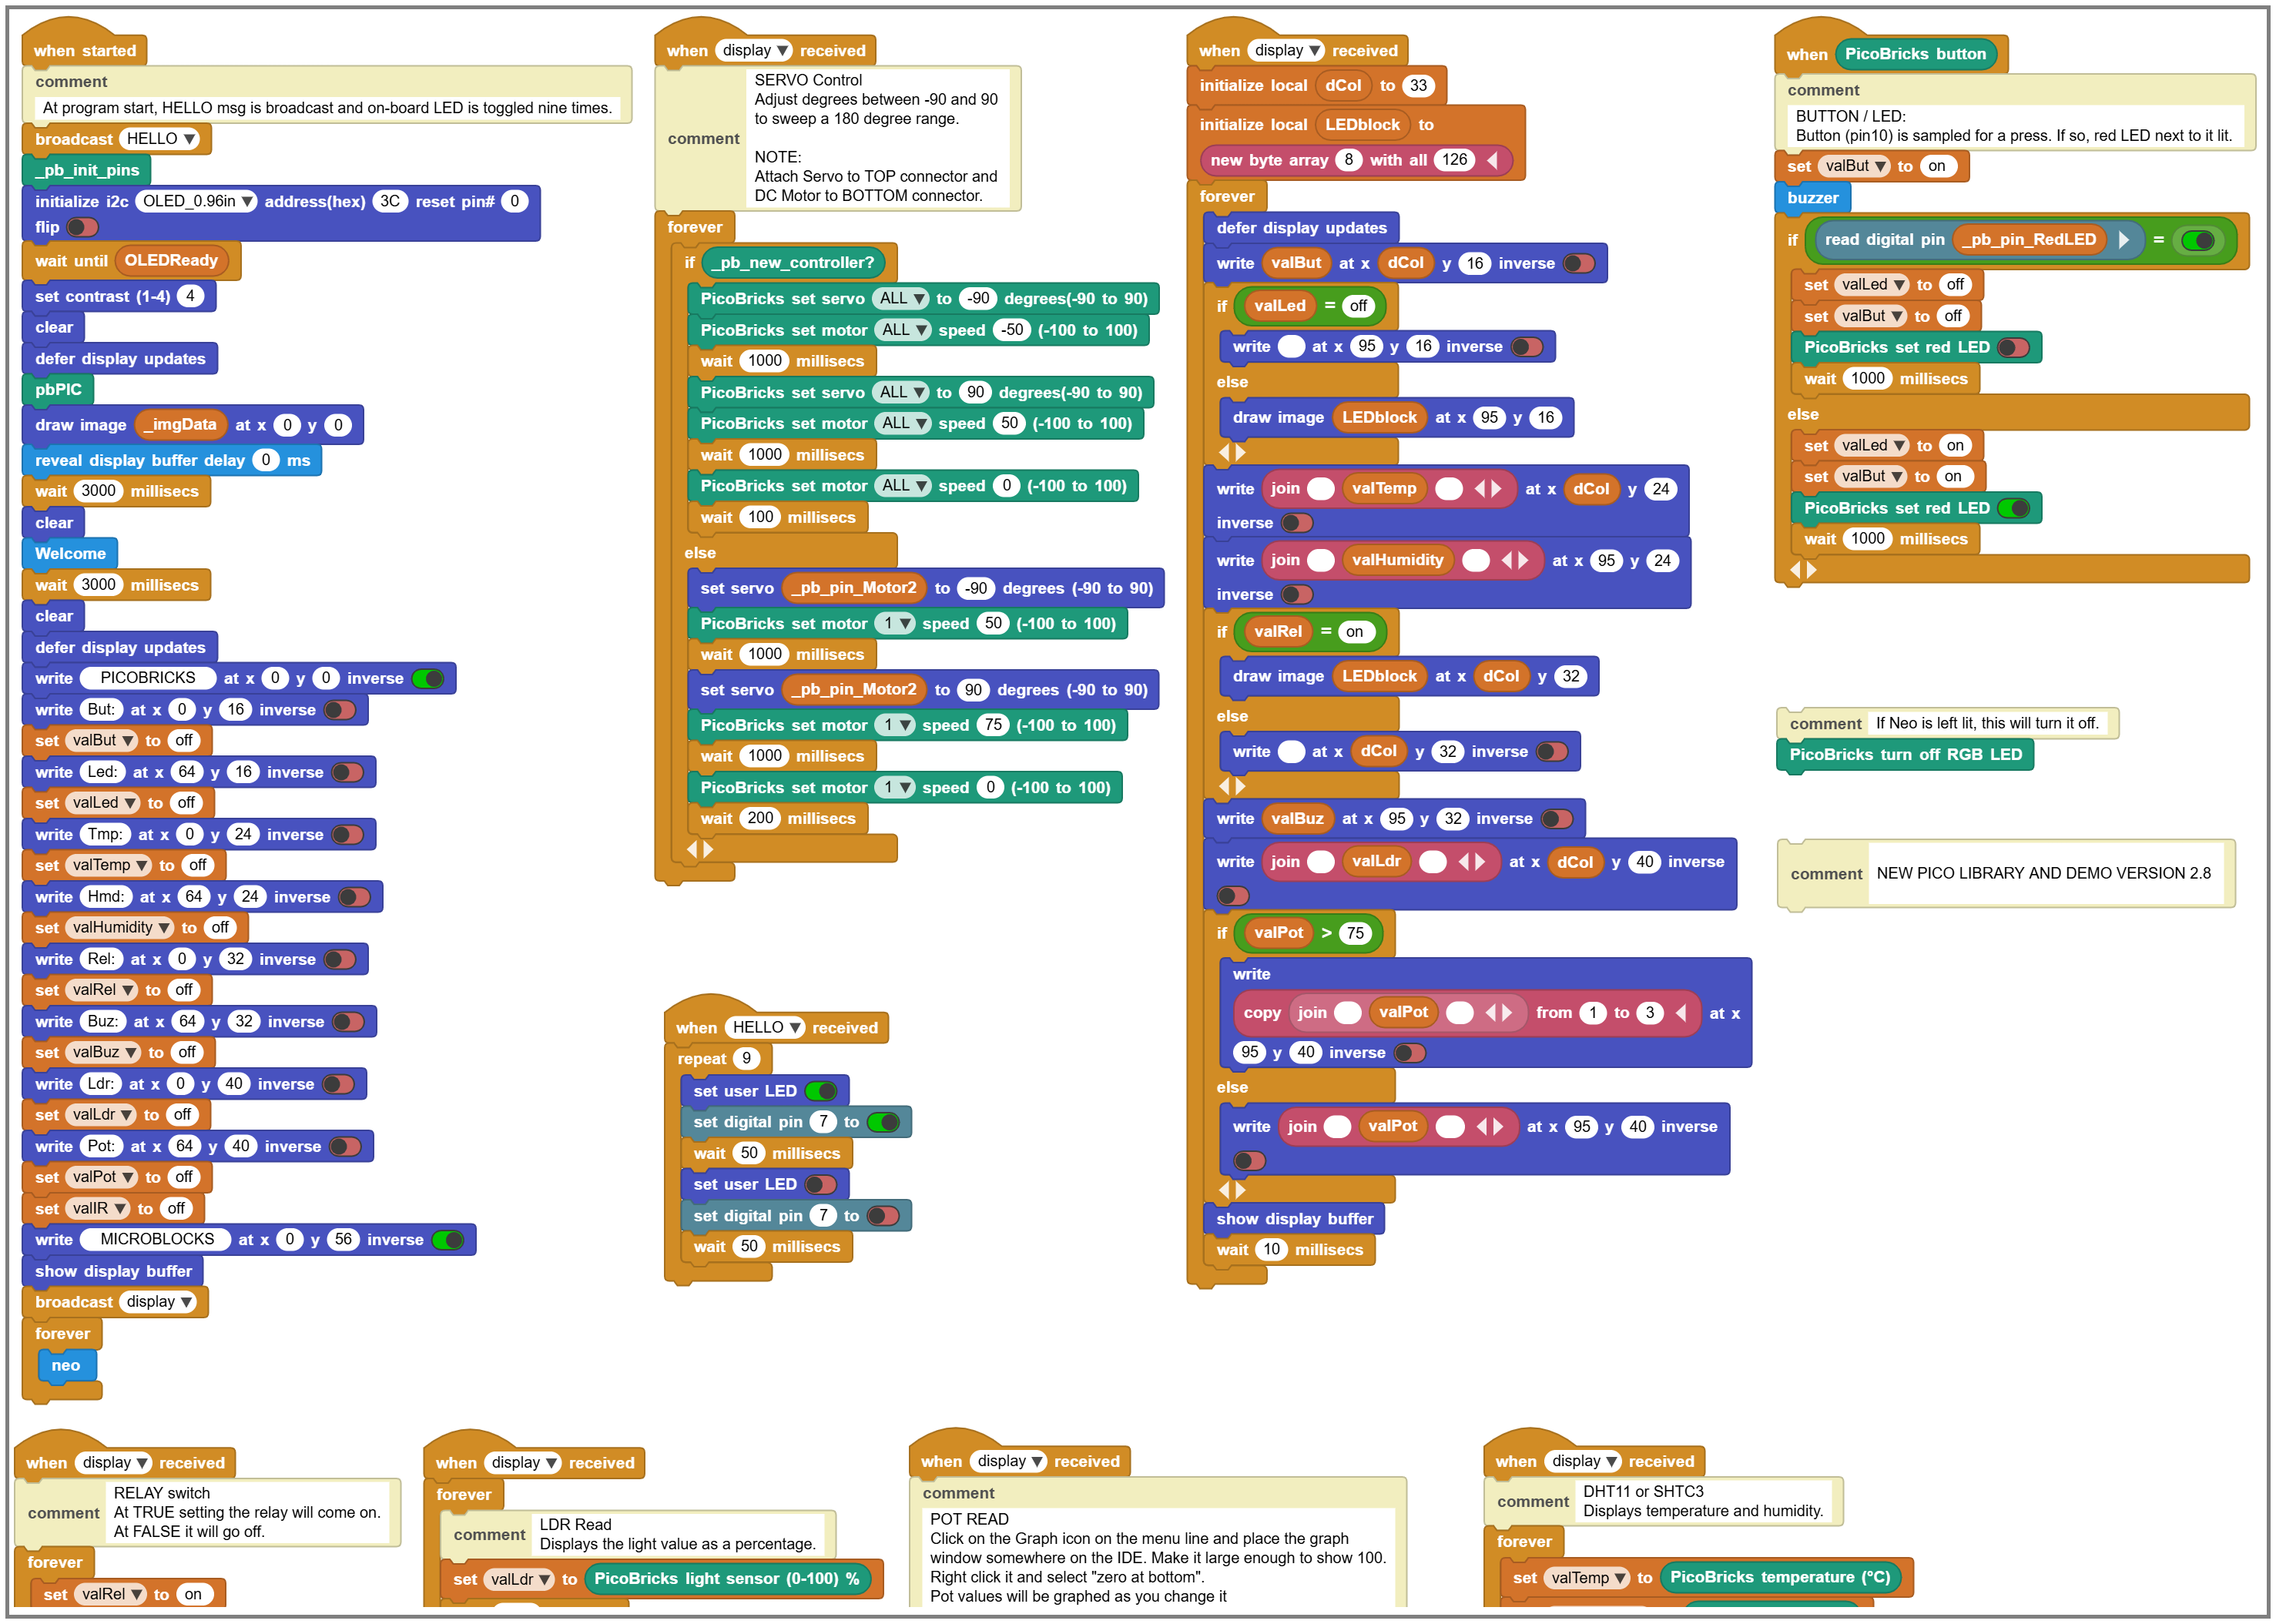
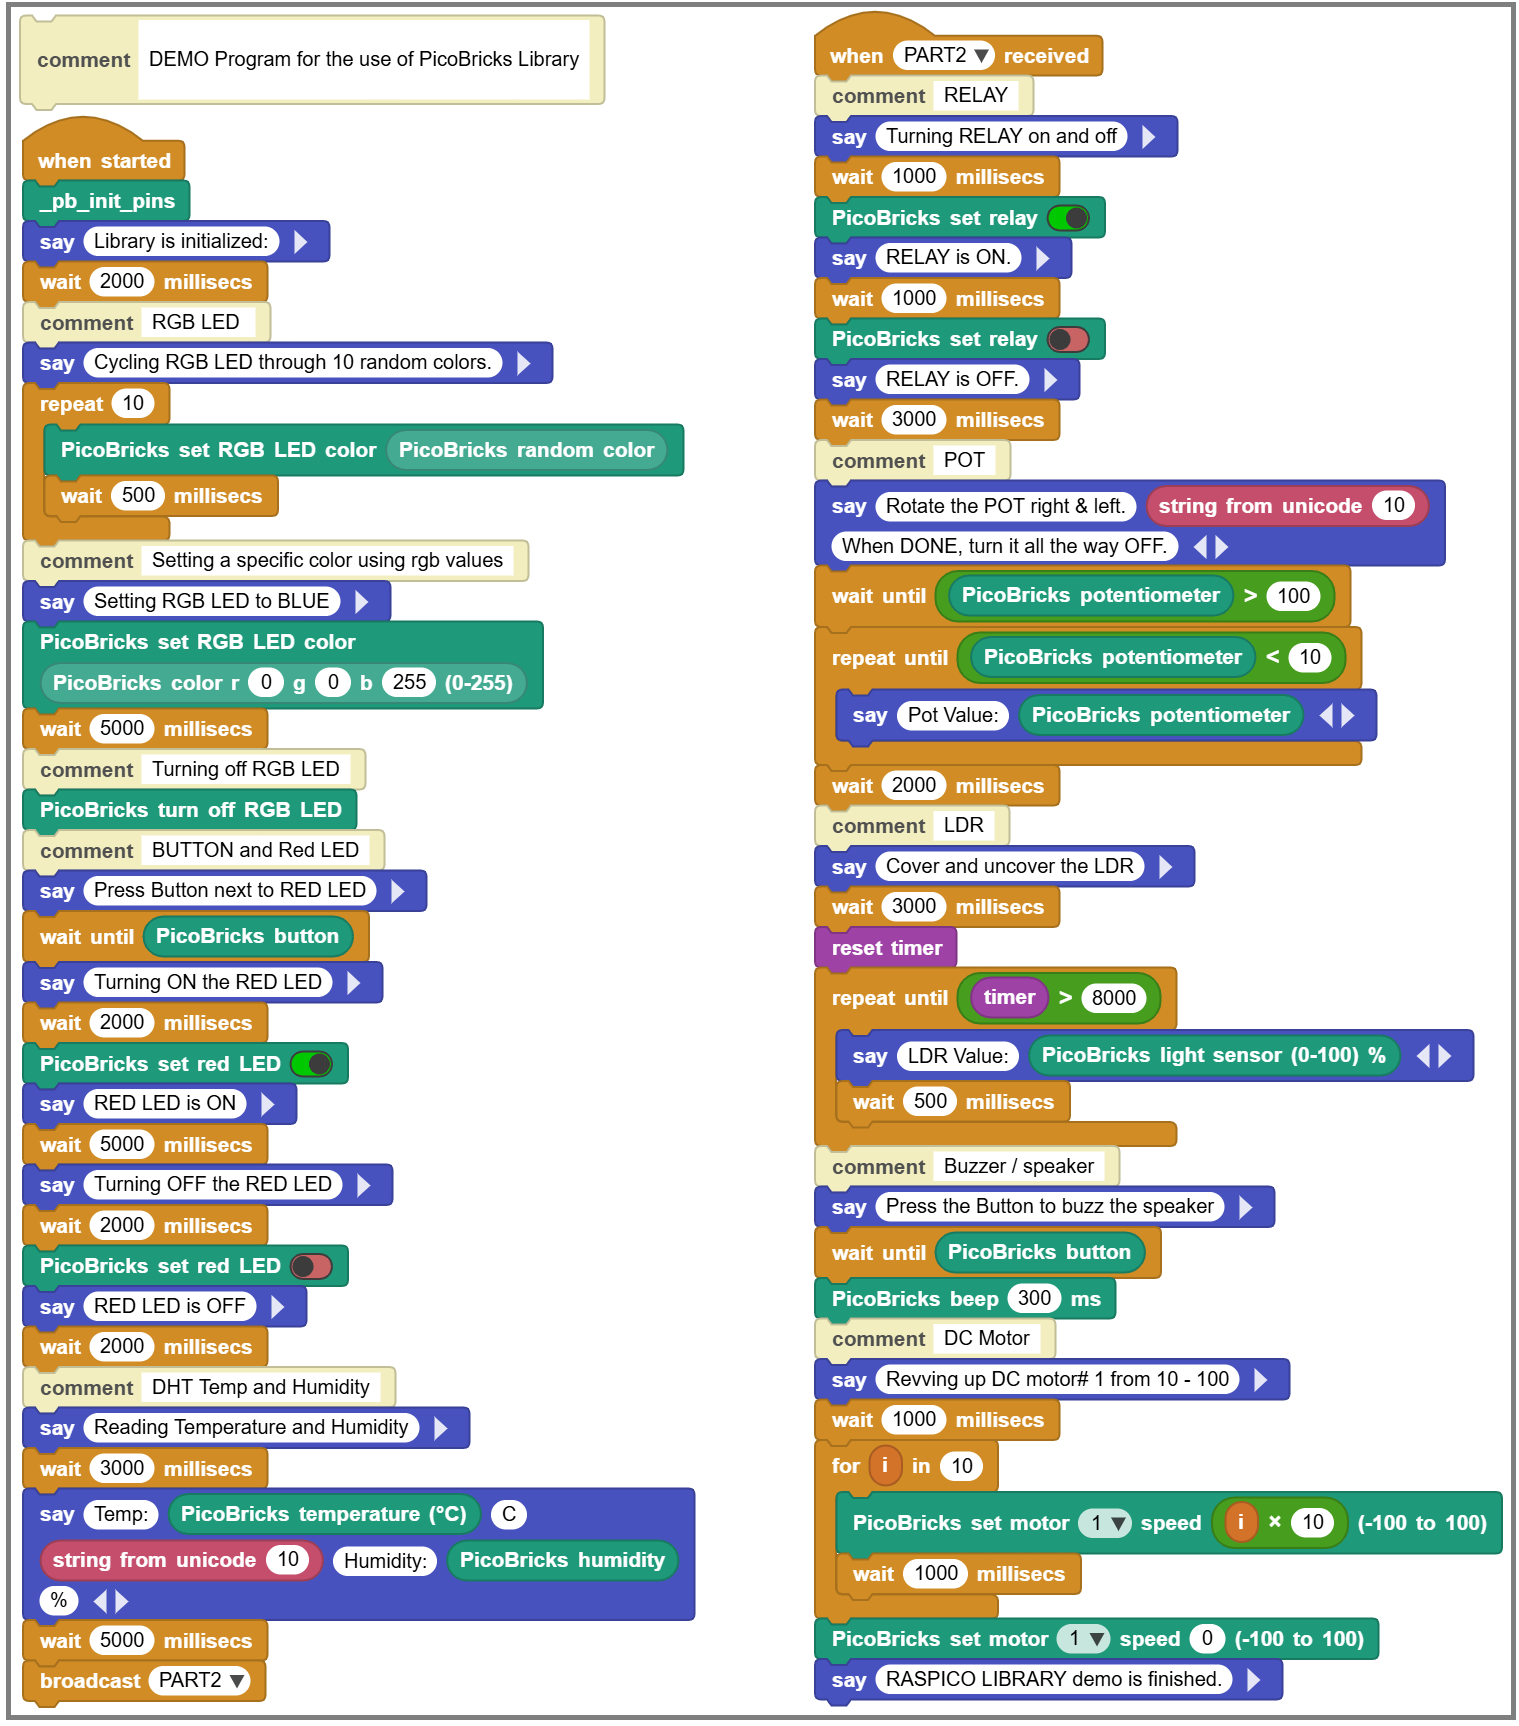
DOWNLOAD: PicoBricks Library Demo Program
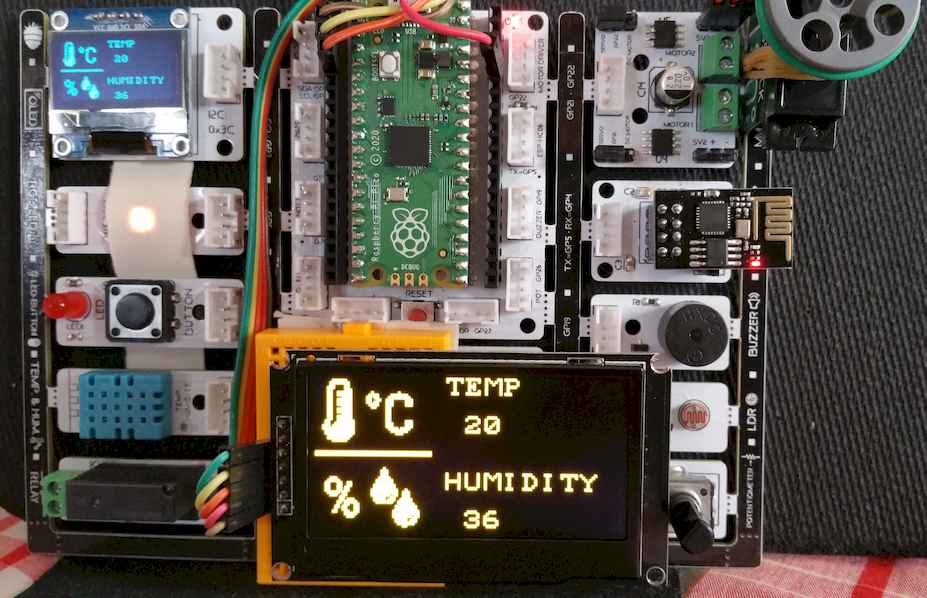
DOWNLOAD: Temperature and Humidity Sensor display on OLED
¶ Components
The board encorporates the following components on its circuit board:
- Main board with socket-mounted Raspberry Pi Pico with female pin headers and 10 Gove connectors
- Monocrome 128 x 64 OLED (SDD1306)
- RGB LED (WS2812)
- Button and red LED combo unit
- Temperature and humidity sensor (DHT11)
This module has been replaced by a SHTC3 I2C module as of July 2024 timeframe. - Relay switch (can switch 5V-250V 5A)
- Potentiometer
- Light sensor
- Speaker
- Combination WIFI and Bluetooth socket driven by the UART on-board
ESP-01 WIFI module has been replaced by an IR sensor, when the microcontroller was upgraded to the RP2040-W WIFI version. - Dual-motor controller for servos and DC motors
This controller has been replaced with a new version as of July 2024 timeframe.
All components are mounted on separate circuit board units attached to the main circuit board and connected to the PICO microprocessor via PCB traces. Each unit can be broken off and used individually. Each unit and the main board also incorporate Grove connectors that are used to connect to the module boards after they have been broken-off. There is also a handy RESET button for the processor.
MicroBlocks has a library for this board. See PicoBricks Library Guide for details.
¶ RPI Pico Pinouts
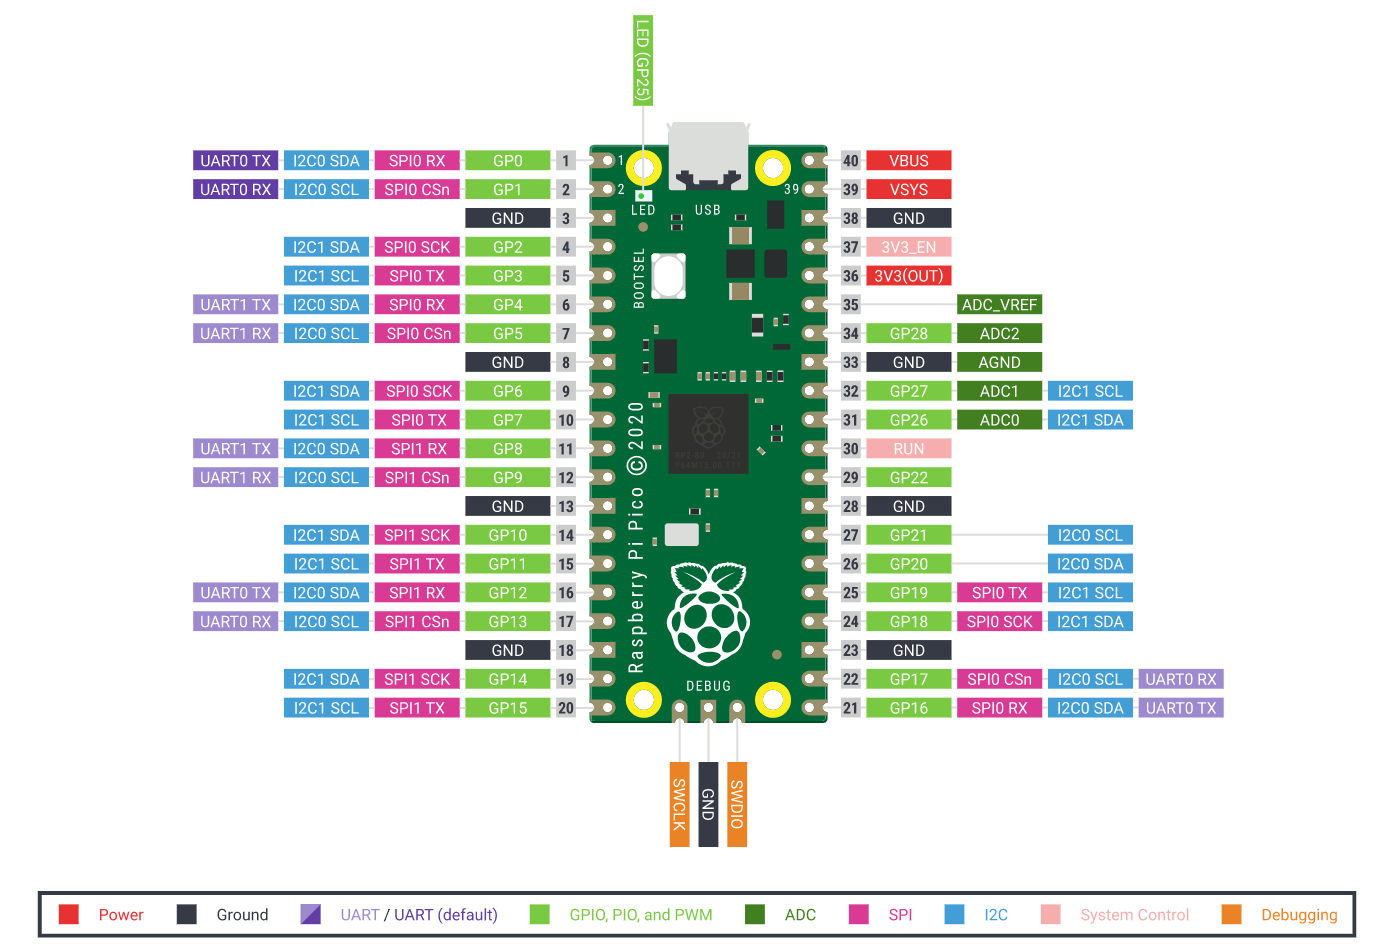
The MicroBlocks firmware for the Pico and other RP2040 boards uses the default pin assignments shown above for the UART (GP0/GP1), I2C (GP4/GP5) and SPI (GP16-19) functions. Those pins can be also used as general purpose digital pins when the UART, I2C, and SPI functions are not in use.
¶ PicoBricks Connectivity
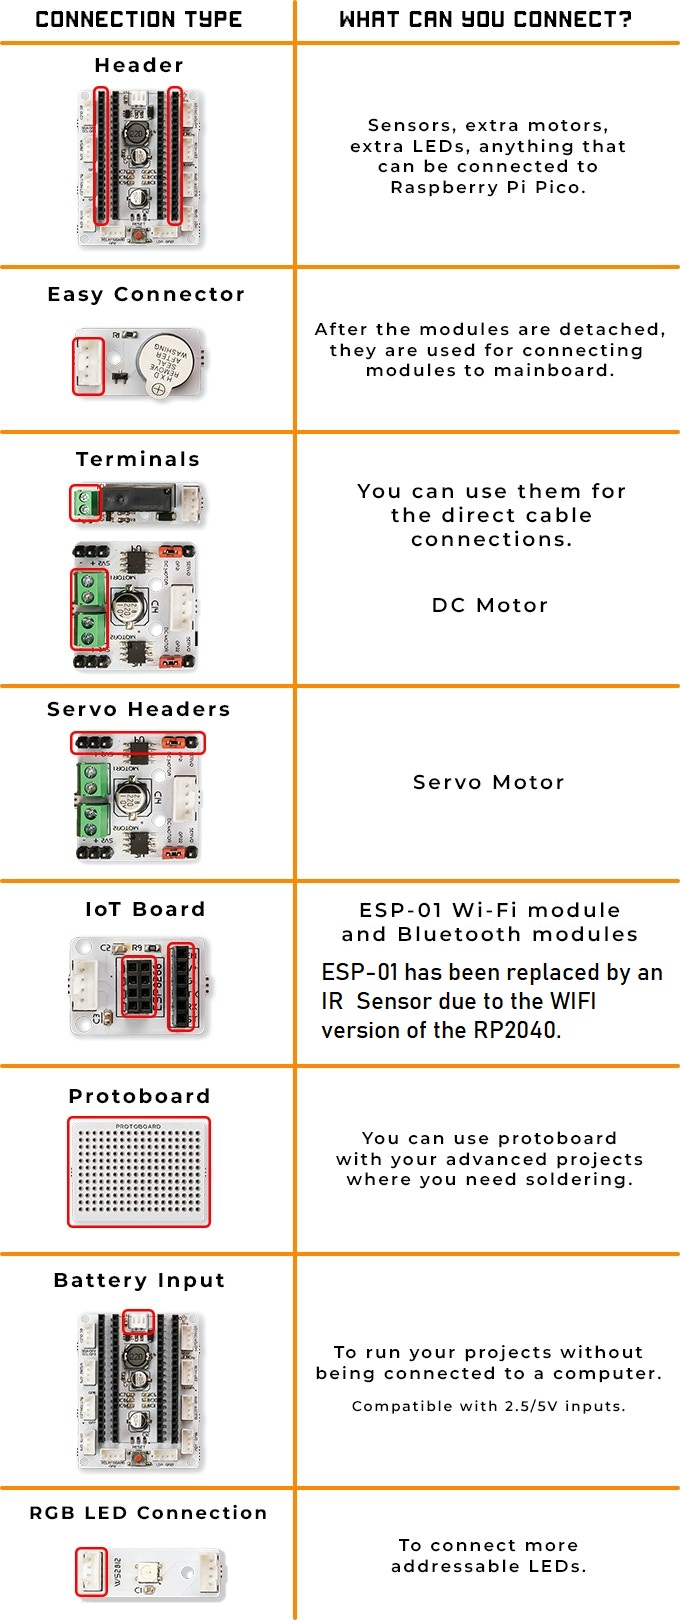
Following is an illustration describing the connectivity options provided with this board, and their main uses.
¶ Serial Setup
Modern versions Windows, MacOS, and Linux should automatically install serial drivers for the Pico.
On some older systems (e.g. Windows 7), you might need to install a serial driver manually. While those systems are not officially supported, this post suggests a solution Using Pico on Windows 7/8 is easier than documented #118. (We have not tested that process.)
To verify that everything is working, try the following:

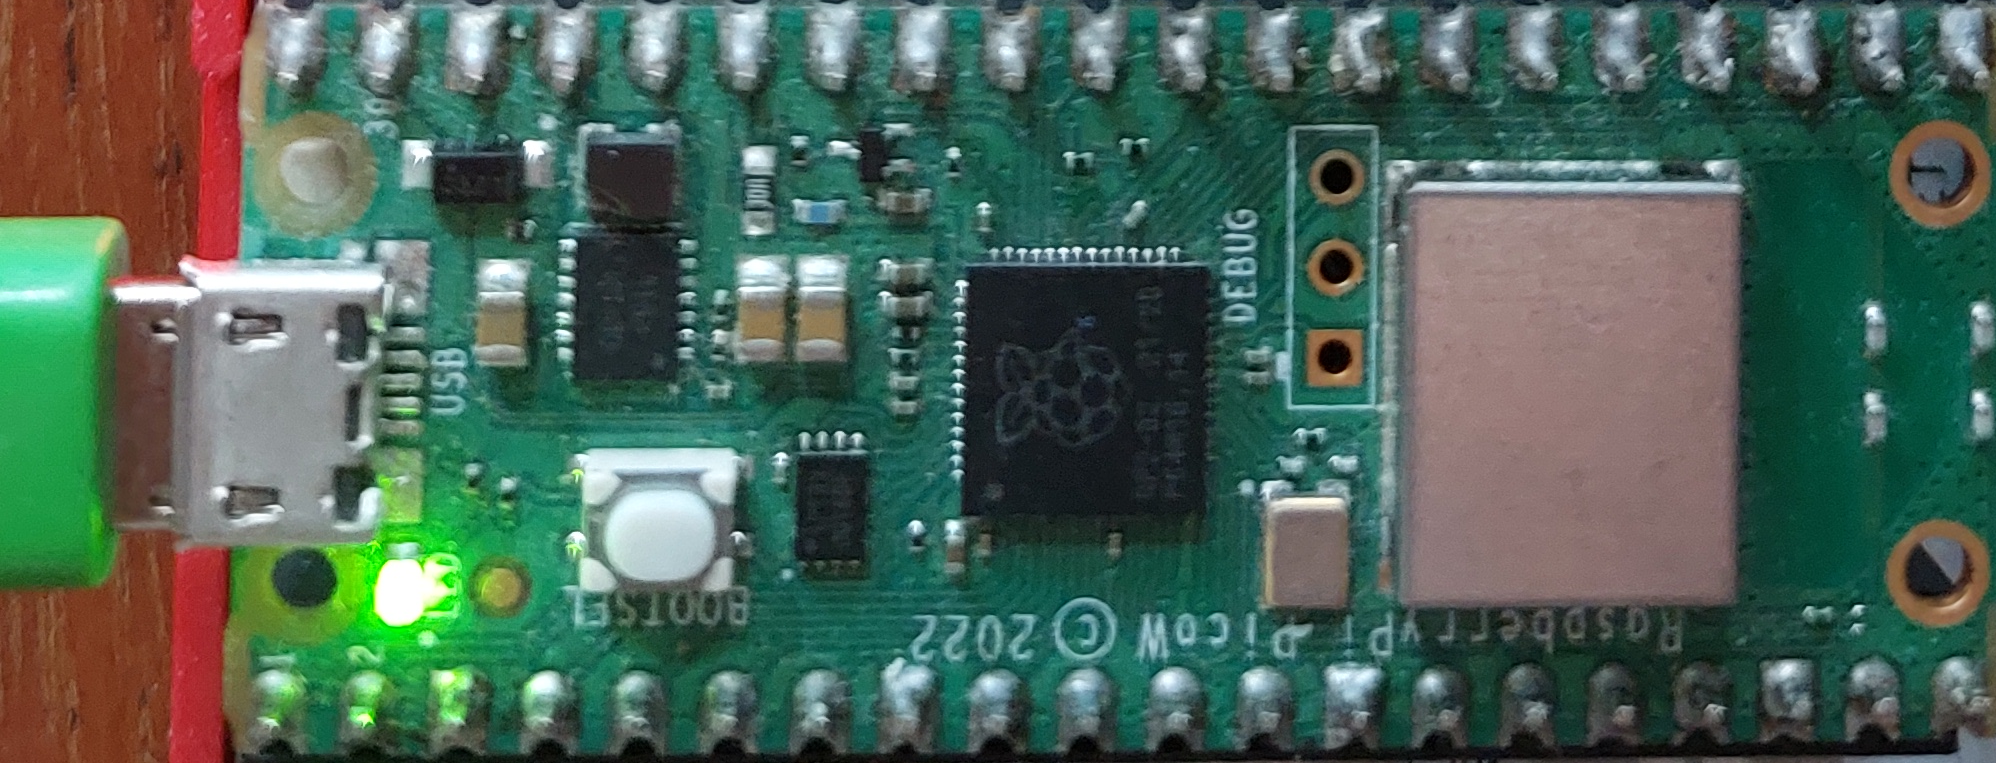
The LED on your PicoBricks should light up, showing that the board is connected.
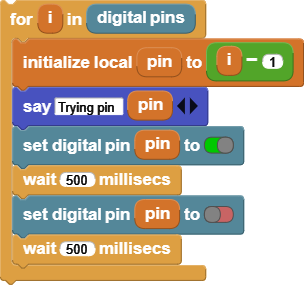
If the LED on your board does not light up, it could be that the LED is connected to a different pin on your board. (Different boards connect the user LED to different pins.) You could look up the LED pin number in the data sheet for your board, but it's more fun to write a MicroBlocks program to find it for you:
You're ready to code!