¶ MicroBlocks Firmware
In general there are two versions of firmware in the MicroBlocks system:
- Standard release version
- Pilot version
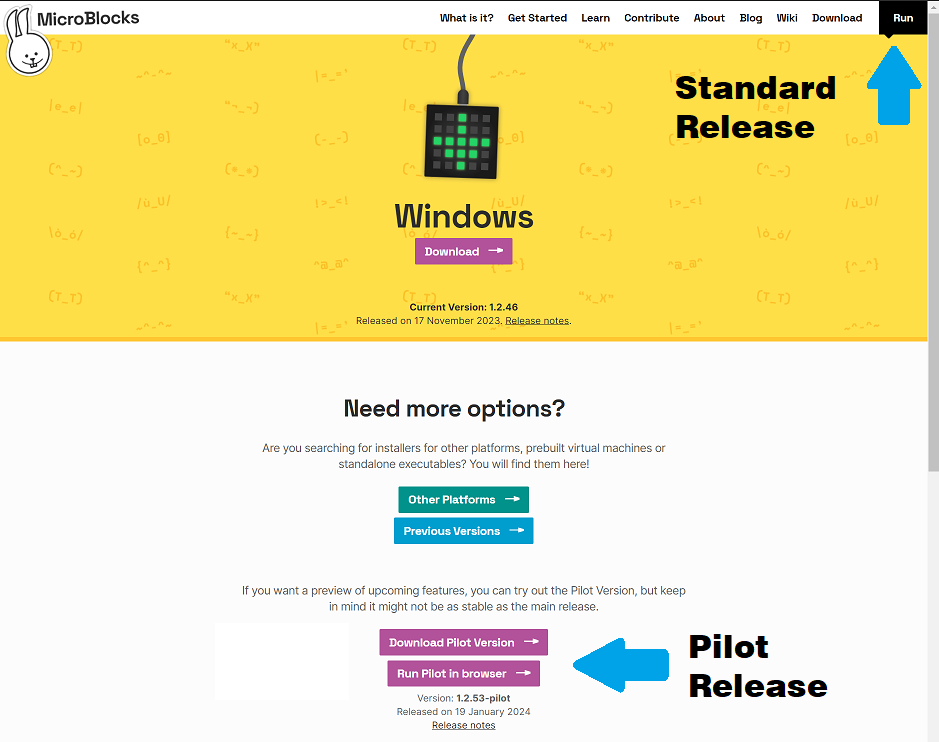
Depending on how you choose to run the MicroBlocks Editor, the corresponding firmware will be used when you do a firmware update. In the picture below, we show the two different versions of MicroBlocks and how you can RUN them:
¶ Standard Release Version
MicroBlocks standard firmware is released approximately two times a year. This version is accessed using the Run menu option of the Web Page at https://microblocks.fun/download.
You can confirm that you are running the standard release by observing the URL line of your browser:

Once you reach the IDE using this method, any firmware update you initiate will use the standard release firmware. This version of the firmware is considered the stable release and has been extensively tested and documented.
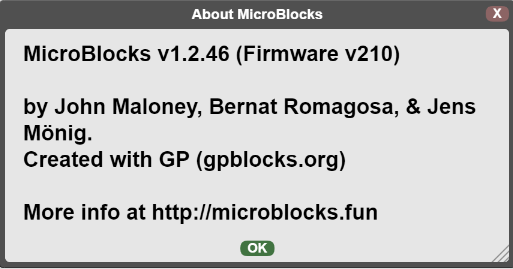
After completing the update, you can verify the release level information using the MicroBlocks (gear)/about menu option:
For beginner users and for users new to MicroBlocks, this option is the best one to use. Nevertheless, certain conditions, like support for a new hardware may dictate that the users work with the Pilot releases.
¶ Pilot Release Version
Since MicroBlocks is in a constant state of development for new features, Pilot releases are done very frequently. Usually, these releases go hand-in-hand with the corresponding IDE releases. This version is accessed using the "Run Pilot in browser" option in the middle of the Web Page at https://microblocks.fun/download.
You can confirm that you are running the pilot release by observing the URL line of your browser:

Once you reach the IDE using this method, any firmware update you initiate will use the pilot release firmware. This version of the firmware is considered experimental and is generally used by experienced users or users requiring support for specific hardware and/or software features.
Documentation of these features are done as needed and may not reflect the latest state of the environment. And due to continuous changes and bug fixes, this release requires that the user is aware of the various versions and their release content.
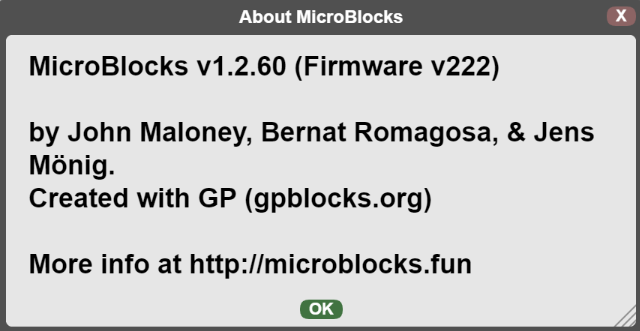
After completing the update, you can verify the release level information using the MicroBlocks(gear)/about menu option:
¶ Installing MicroBlocks Firmware
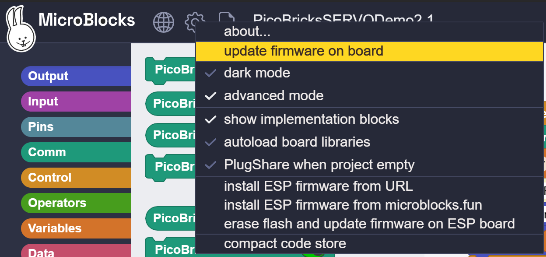
To install the MicroBlocks firmware on your microcontroller, launch MicroBlocks and from the MicroBlocks (gear) menu, select "install firmware on board":
¶ Connecting to your device
Depending on the conditions, a device selection menu may be presented for the user to choose from.
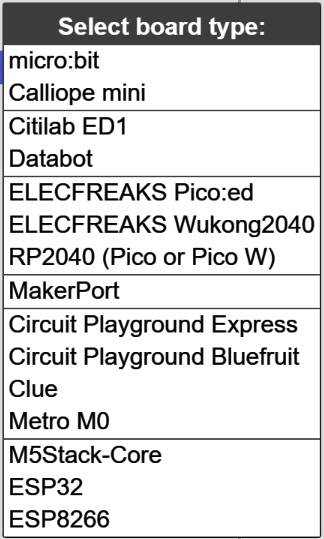
After you select your microcontroller type, different messages prompting for further actions will be displayed.
MicroBlocks supports many microcontroller boards. See Boards section for detailed information.
¶ Preparing your device for the firmware upload
Different microcontrollers require different ways of setting up before the firmware update can be started. Some switch to a mode where they appear as a system drive with a letter assigned, others just use the USB COM Port assignment.
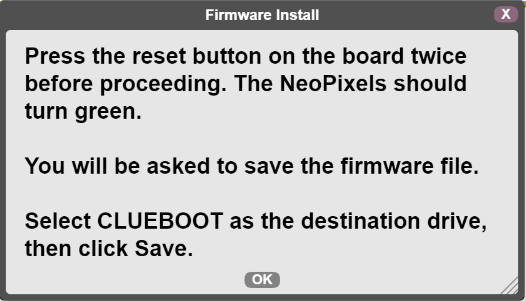
Here is a sample prompt for the Adafruit CLUE device, asking the user to put the board into firmware update mode:
When you click on OK, you will see the system file save dialog window, positioned at the drive that represents the micro device connected to your PC, ready to save the firmware file.
Please note that different micro devices may have different representations as a drive in your system dialog; eg: (your drive letters may be different)
micro:bit will appear as MICROBIT (D:)
PICO-W will appear as RPI-RP2 (D:)
CLUE will appear as CLUEBOOT (D:)
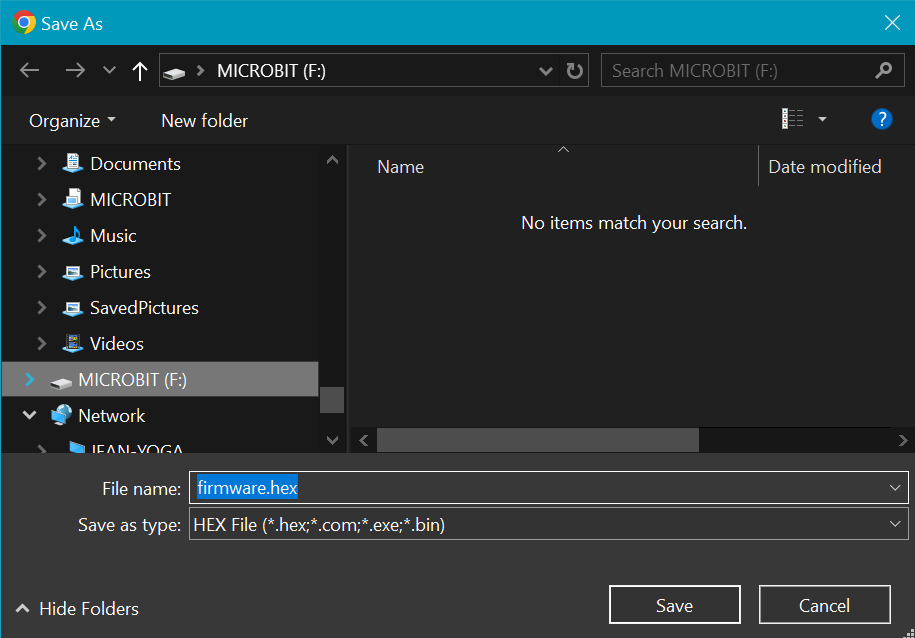
Picture above shows how a micro:bit appears as a drive in the WIN11 environment.
The drive letter (F:) displayed next to the MICROBIT may be different in your system.
Selecting Save from the dialog will place the firmware file on the designated drive that repreents your microcontroller.
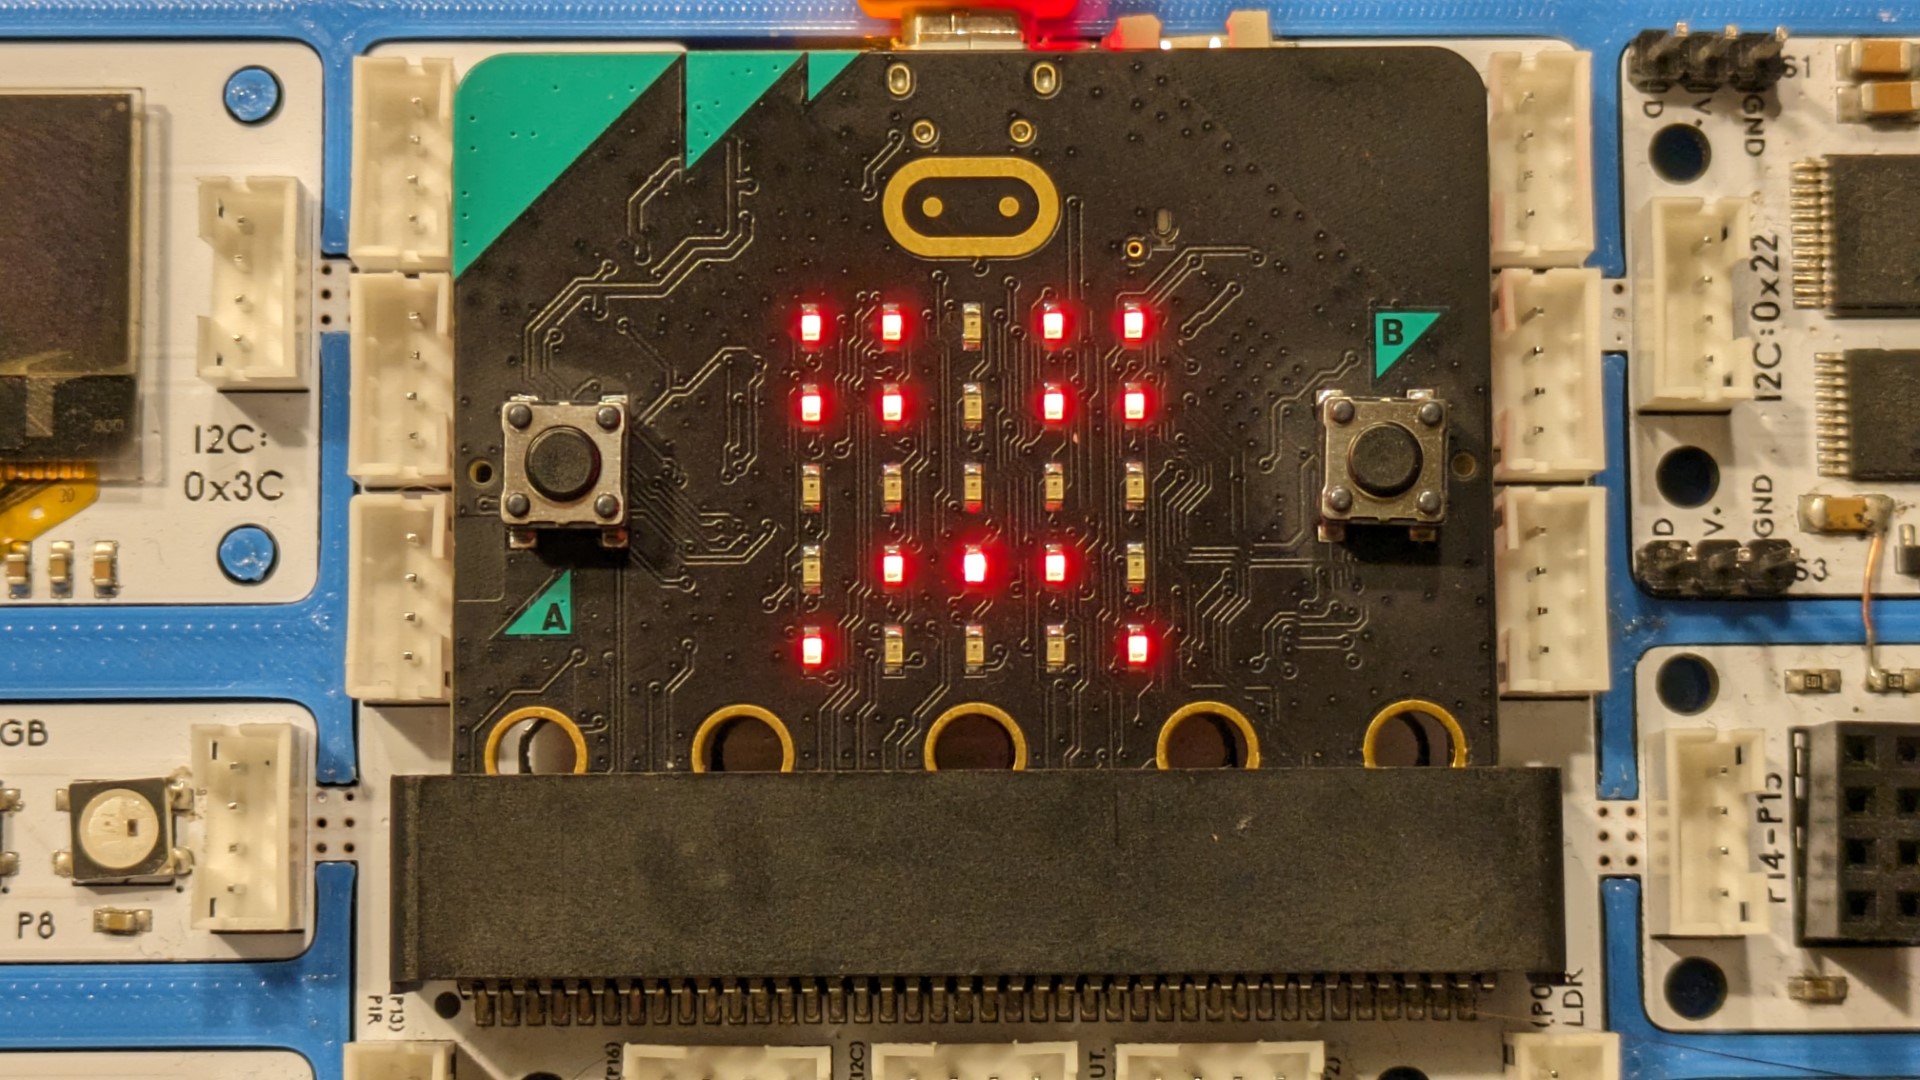
It is possible that the download process does not proceed as described, and a sad-face pattern is displayed in the micro:bit LED panel.
If that happens, simply download the firmware file to a directory you select, and then drag and drop the firmware.hex file onto the MICROBIT drive on your PC.
For some boards, eg: CLUE, furher progress messages may be shown:

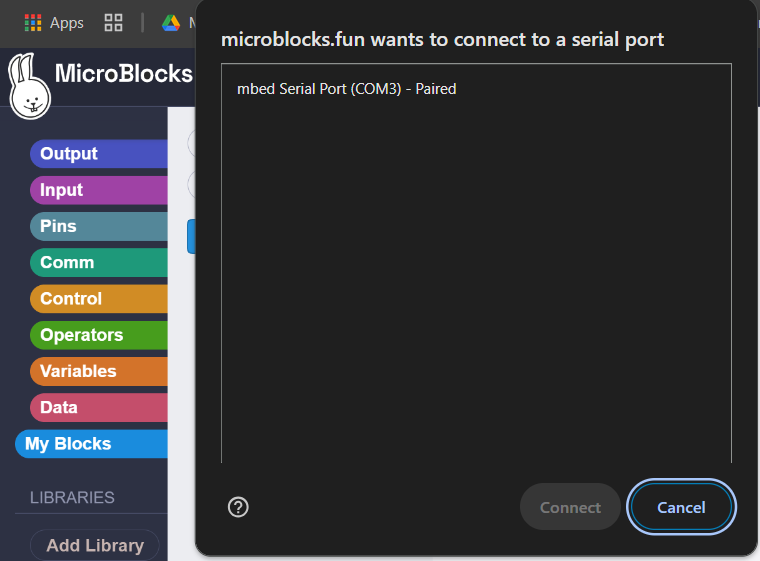
Some other micro devices do not appear as system drives and use a different downloading mechanism to update the firmware onboard. Usually, these boards require that you connect to their USB COM Ports from a system menu.
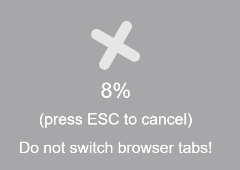
¶ Progress indicator
For those microcontrollers, you may see progress indicator as their special firmware load program updates the board:
¶ Reconnecting after the update
As the firmware update proceeds, the Connection (USB) icon will be off. Upon completion of the update, the connectivity between the micro device and the USB port needs to be reestablished. You will see a messages like the ones shown below.
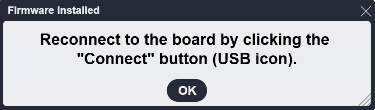
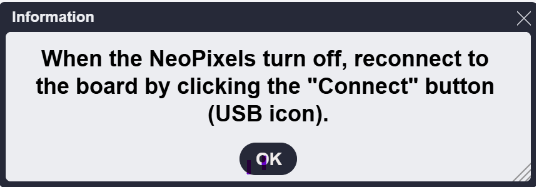
Once the firmware is installed, click on the USB icon to connect; a green circle should appear to show that the board is connected.
![]()
That may take a few seconds. In rare cases you may need to disconnect and reconnect the board.
¶ Final verification
To verify that everything is working, you can try the following on boards with a LED display:

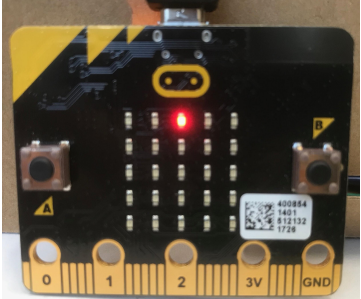
The center LED in the top row of your micro:bit should light up, showing that the board is connected and your script is working.
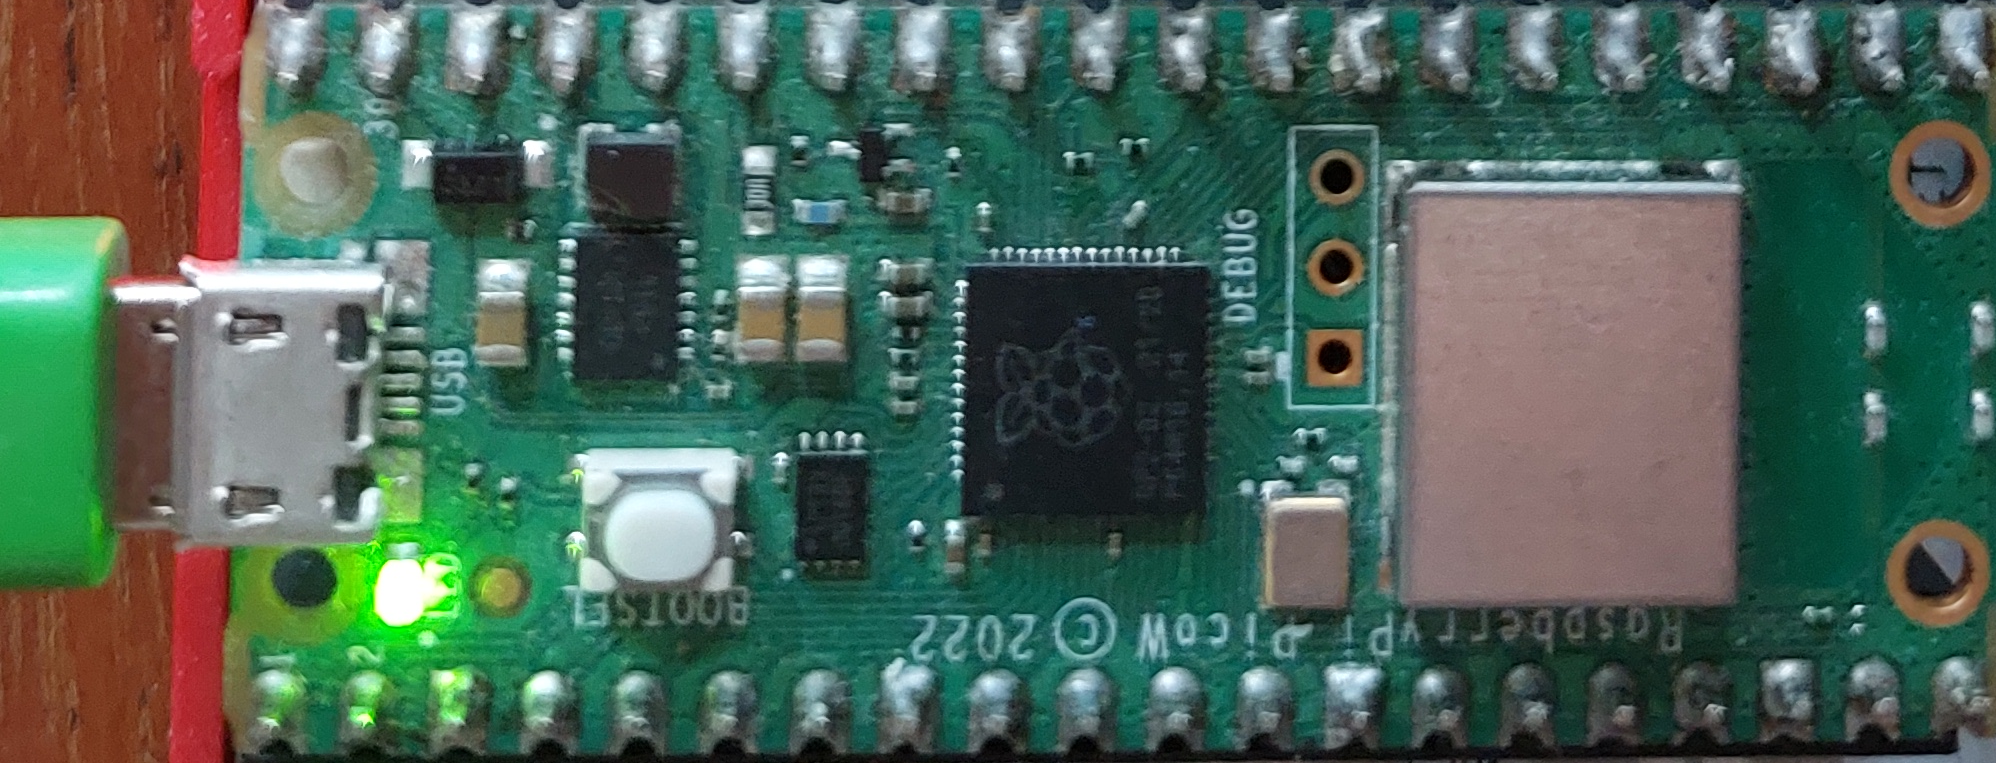
On boards without a LED panel, there may be a single LED that will serve the same purpose. Here is what it looks like on a RPI-PICOw.