¶ Overview
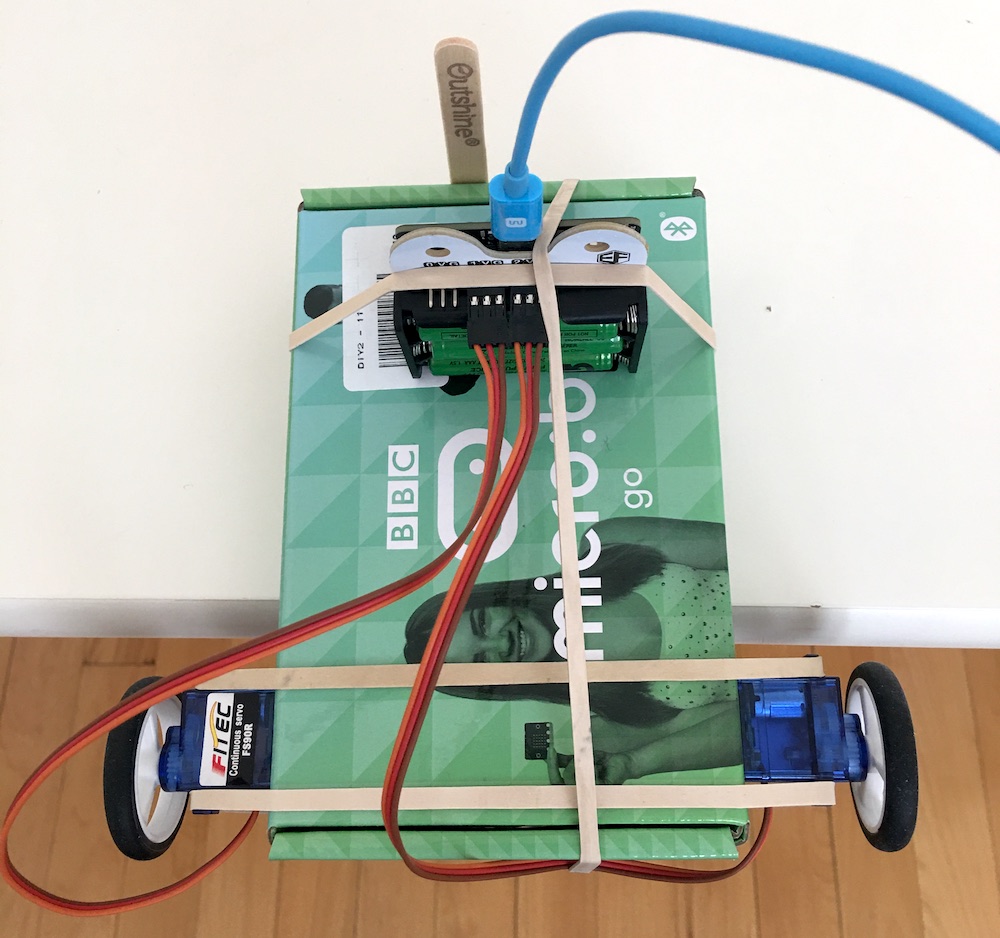
This project how to make a simple two-wheeled robotic creature that you can control remotely using radio messages from a second micro:bit.
Your browser cannot play the provided video file.
¶ Parts
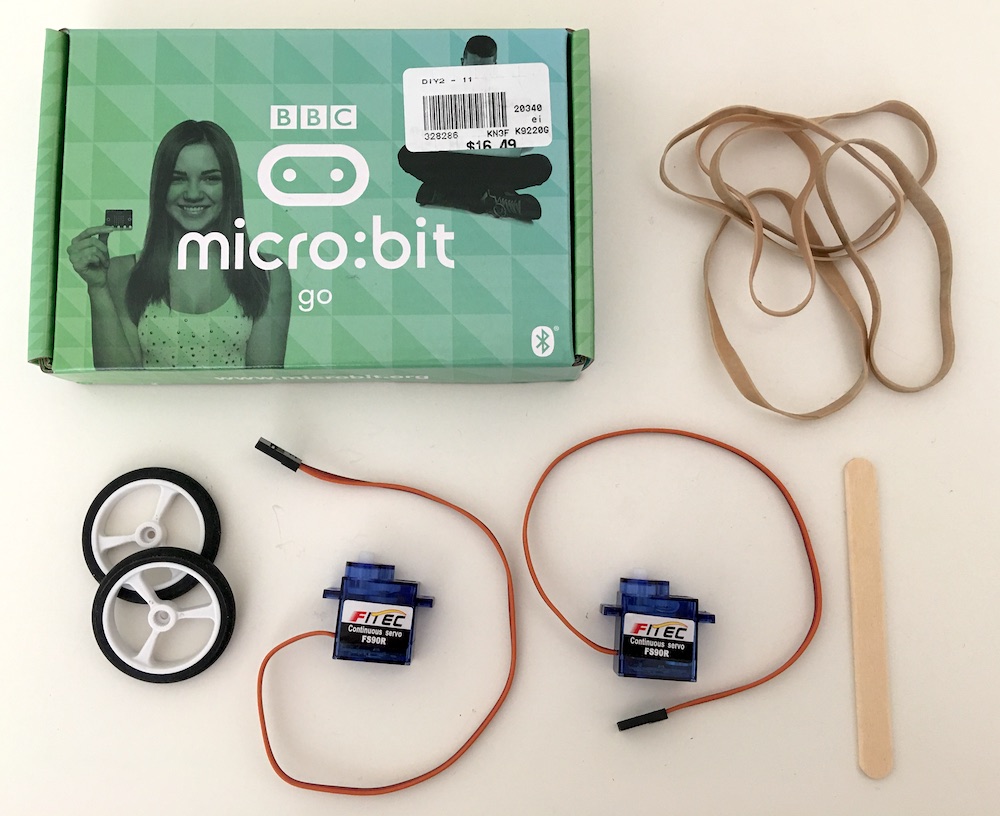
micro:bit with attached ring:bit (not shown)
small, flat box (the one the micro:bit came in works great!)
2 continuous rotation servos (Fitec FS90R)
2 wheels
5 rubber bands
popsicle stick (optional)
¶ Build the Robot
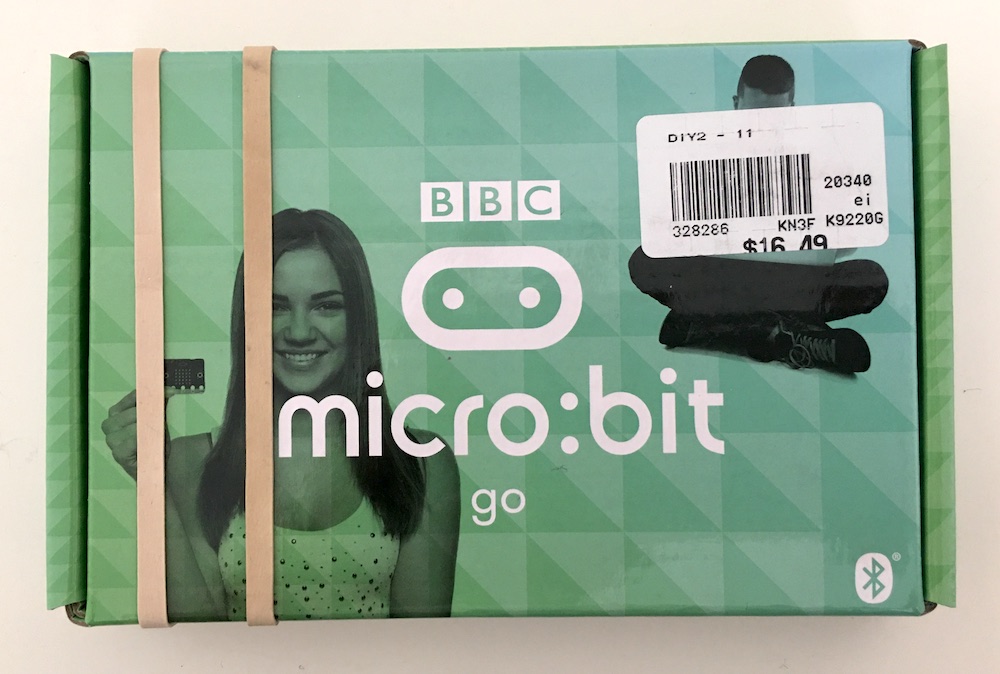
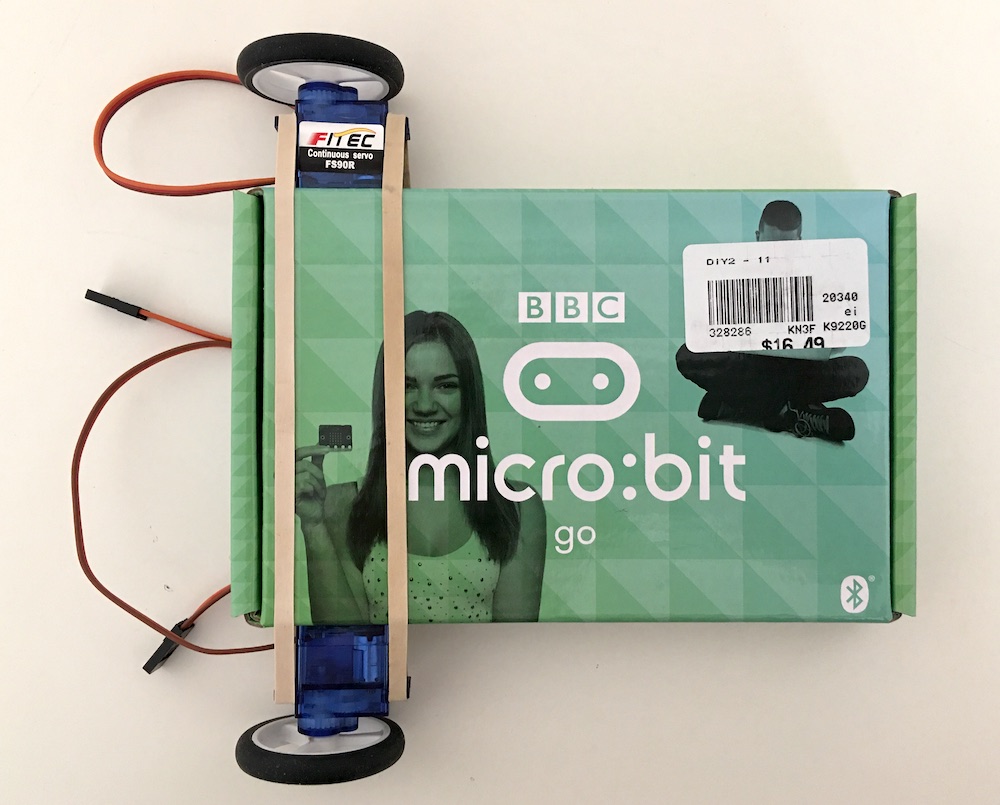
Stretch two rubber bands around the box:
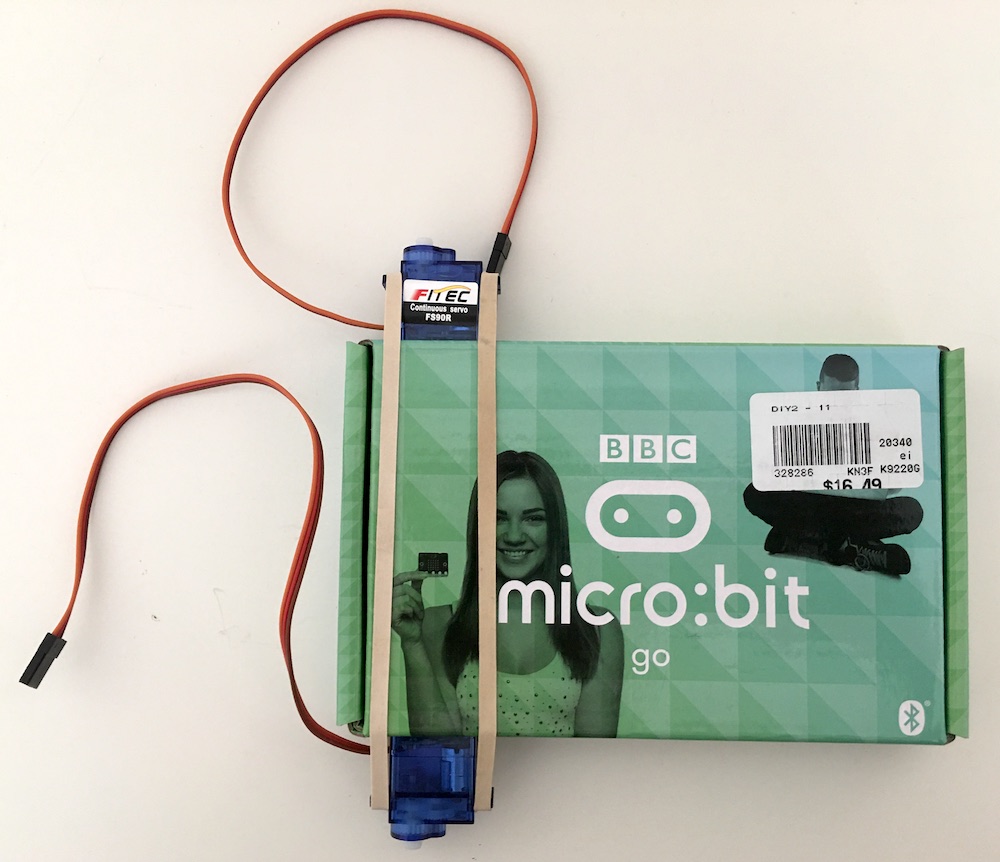
Insert the servos under the rubber bands:
Attach wheels to the servos:
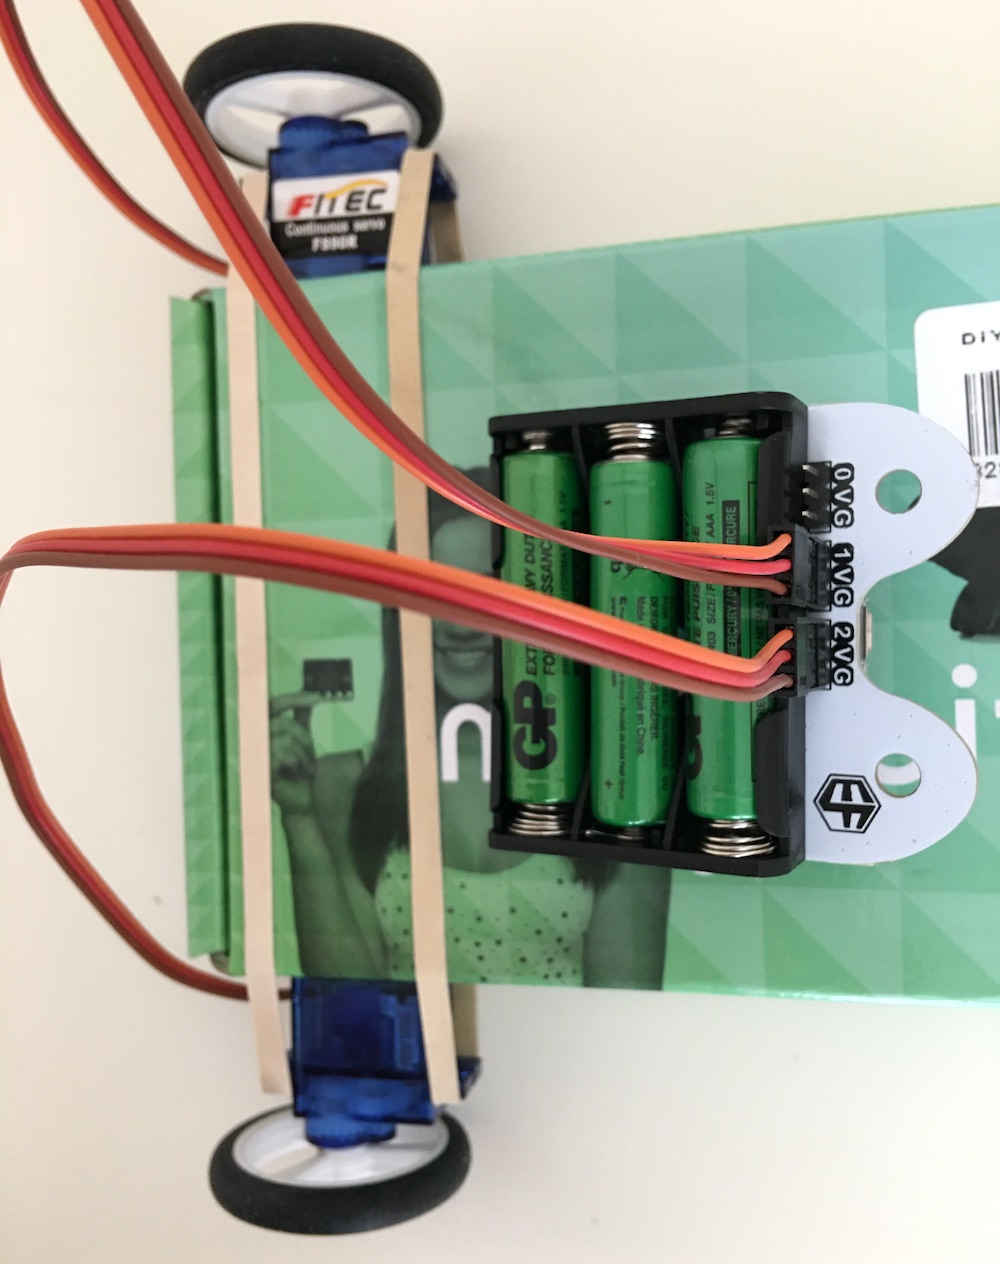
Connect the servos to pins 1 and 2 of the ring:bit (brown wire goes to G):
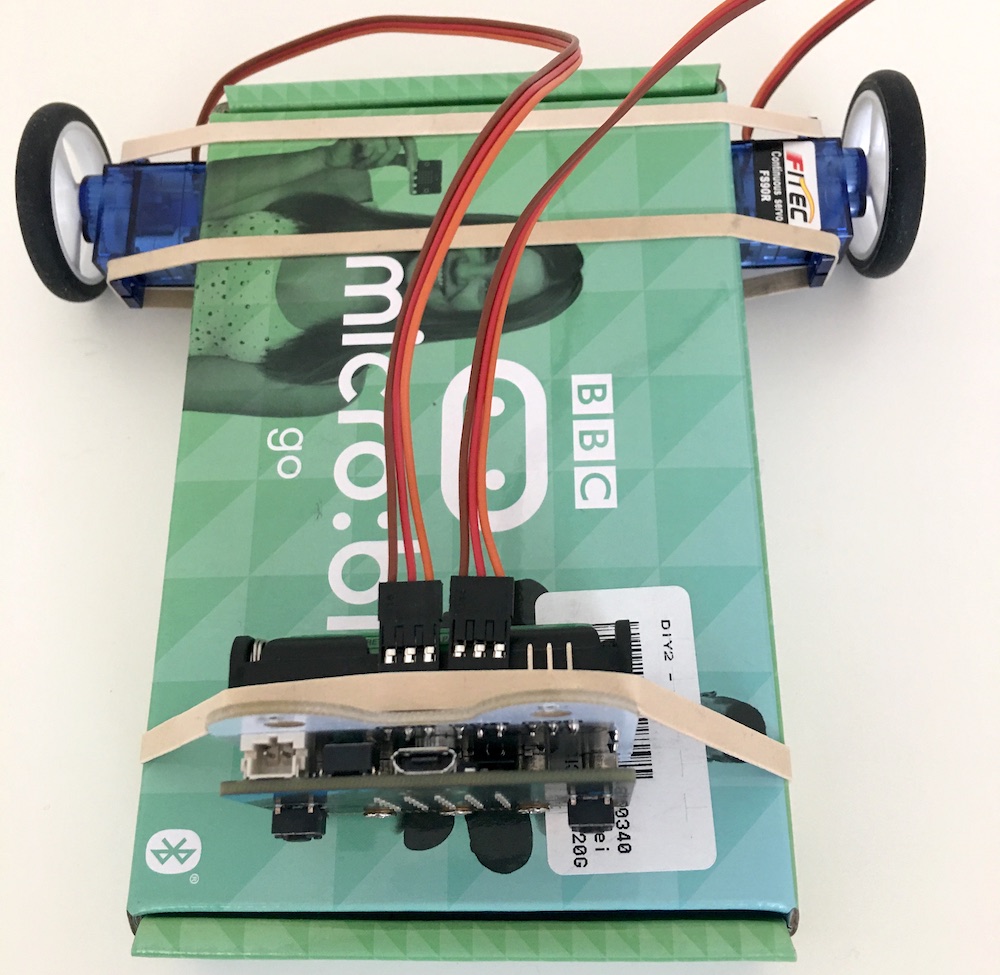
Attach the ring:bit to the box with rubber band:
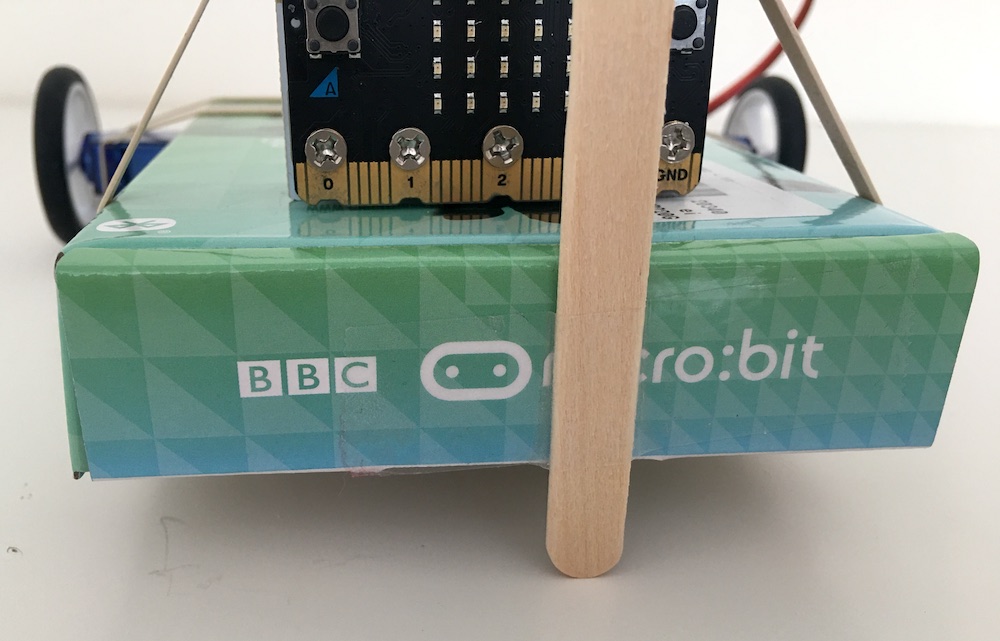
The next step makes the robot move more easily over hard surfaces, but it's not required and it probably won't help on carpet.
(Optional) Tape a popsicle stick (or similar object)to the front of the robot with tape:
For extra security, you can add a second rubber band to hold the ring:bit in place:
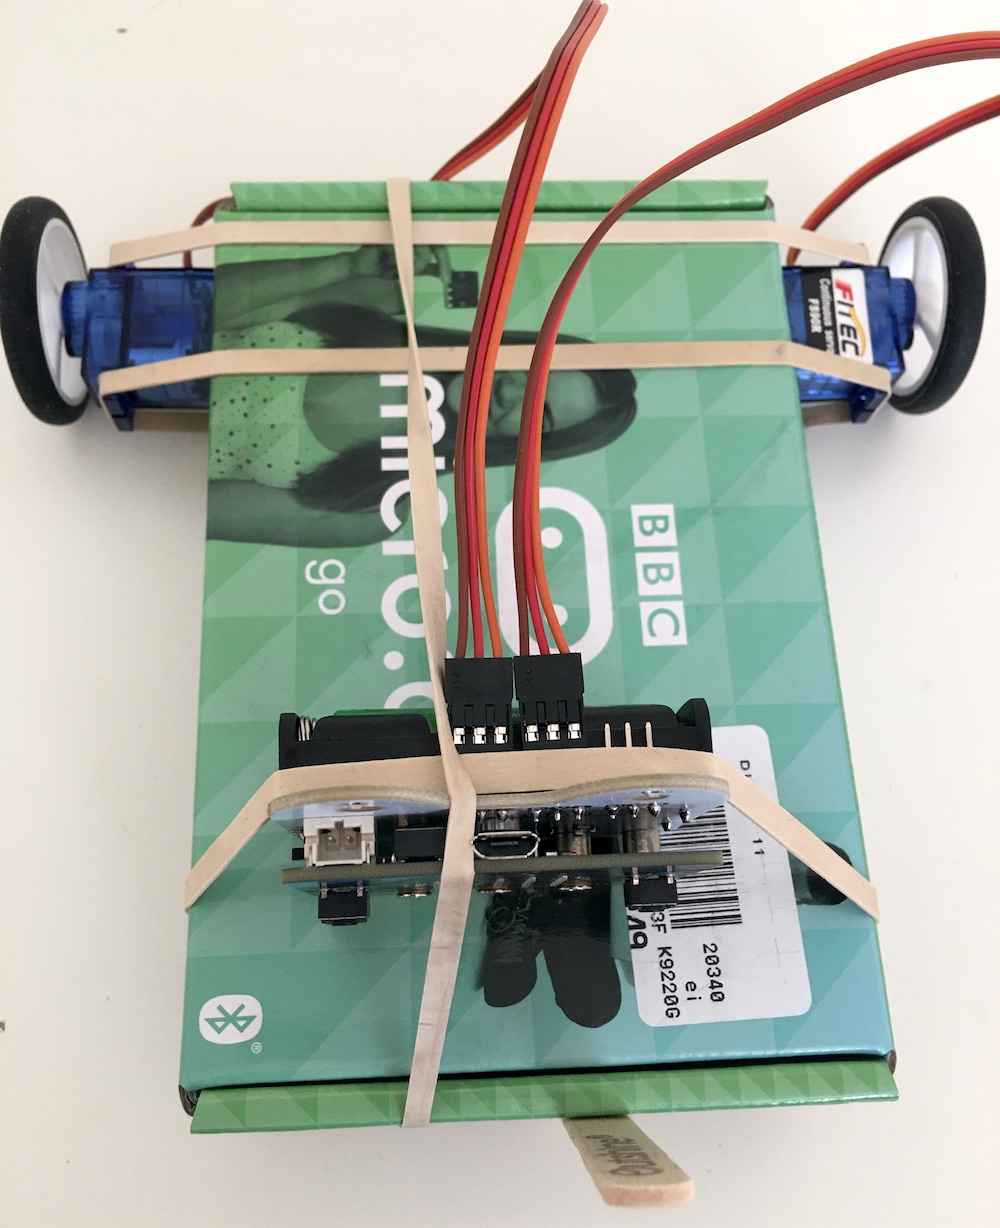
This is just one way to make a robot that moves. You use other materials to form the bass of the robot and you can use glue or tape instead of rubber bands.
Once you've built the base of the robot, you can customize it using carboard, construction paper, foam sheets, glitter, pipe cleaners, googly eyes, and other craft materials.
¶ Scripts
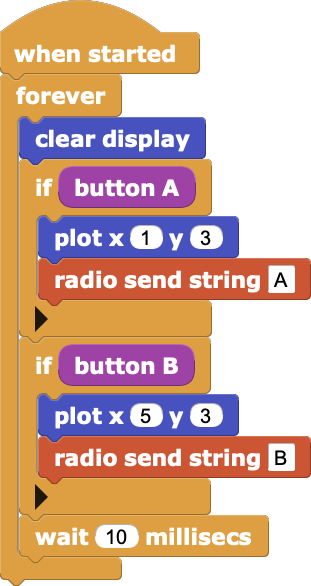
Scripts for the remote control micro:bit:
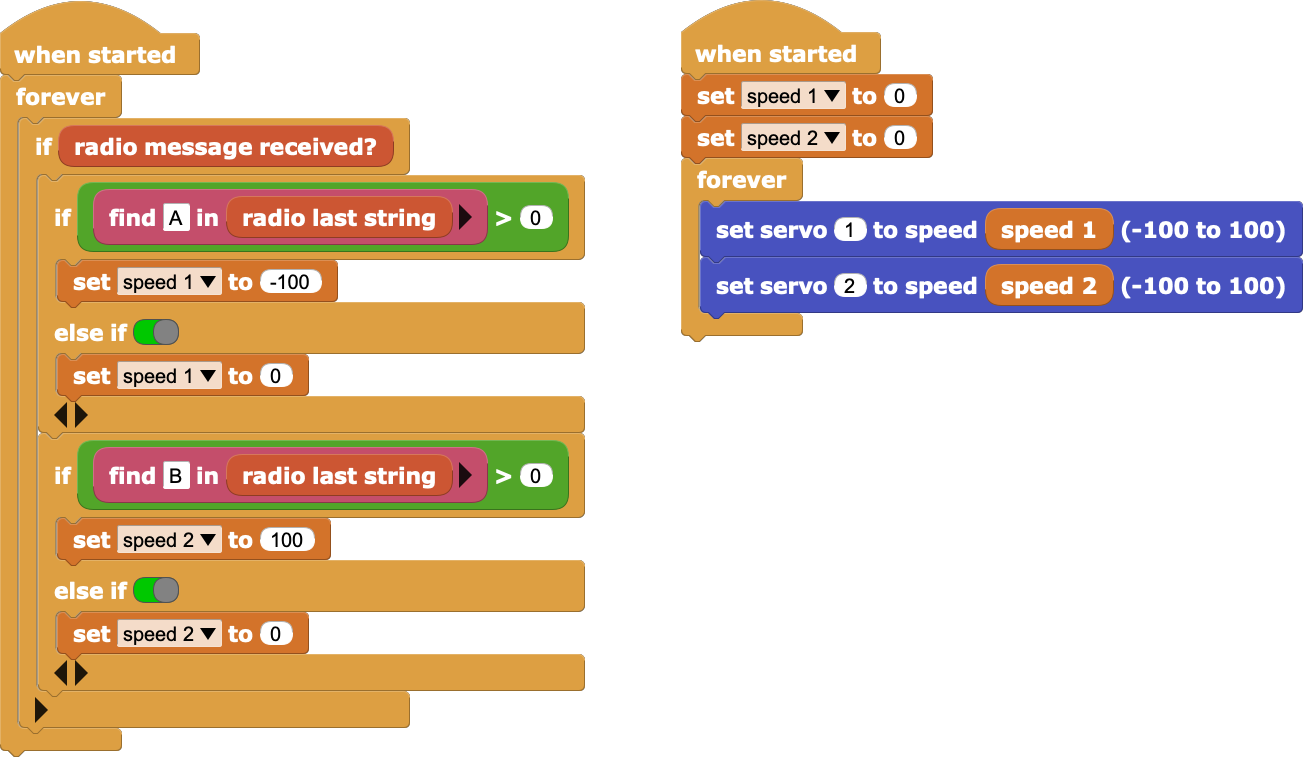
Scripts for the robot:
¶ Process
Program both the robot and the remote control micro:bit. Place the robot on the floor or a large table and turn it on. Power the remote control micro:bit with a battery pack or USB cable. Press the A and B buttons on the remote control micro:bit to control the left and right motors.
These scripts are just a starting point. You might add code to control the speed or direction of the motors, or have the robot respond to the remote control buttons with cool dance moves that you program.
As you work on the scripts for your robot, it can be helpful to place it on the edge of a table so you can see how the wheels move before trying it on the dance floor:
