¶ Overview
This project introduces the idea of an electrical circuit. An LED (light emitting diode) is connected to the power and ground pads of a micro:bit to make it light up. Disconnecting an alligator clip makes the LED go off, like turning off a switch.
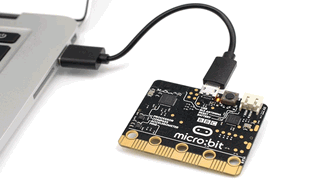
This project does not involve any coding. For power, you can either connect your micro:bit to a computer or connect a battery pack to the micro:bit.

¶ Parts
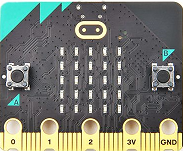
To start the project, collect the parts:
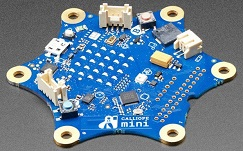
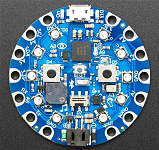
| a micro:bit | OR a compatible micro device | |
|---|---|---|
 |
 |
  |
-
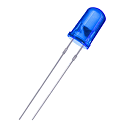
LED with built-in resistor, any color (see note below)
-
two alligator clip cables
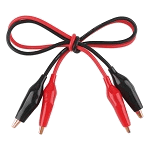
Note: Sparkfun sells LED's with built-in resistors such as https://www.sparkfun.com/products/14977. If you have a micro:bit v1, you can use an ordinary LED because the micro:bit v1's power supply limits the current through the LED. The micro:bit v2 has a stronger power supply, so you need a resistor to prevent damage to the LED. Using an LED with a built-in resistor keeps this first circult simple but you can also use an external resistor of 100 to 1k ohms; see Use a resistor to control brightness.
¶ Setup
¶ Connect the long leg of the LED to 3v:
- Attach a cable to the long leg of the LED.
- Attach the other end of this cable to the 3v pad on the micro:bit.
¶ Connect the short leg of the LED to GND:
- Attach a cable to the short leg of the LED. Use a black cable if you have one.
- Attach the other end of this cable to the GND (ground) pad on the micro:bit.
¶ Power up:
When you are done with both cables, it is time to power up the micro:bit. You can do this by either connecting the micro:bit to a computer with a USB cable or attaching a battery pack.
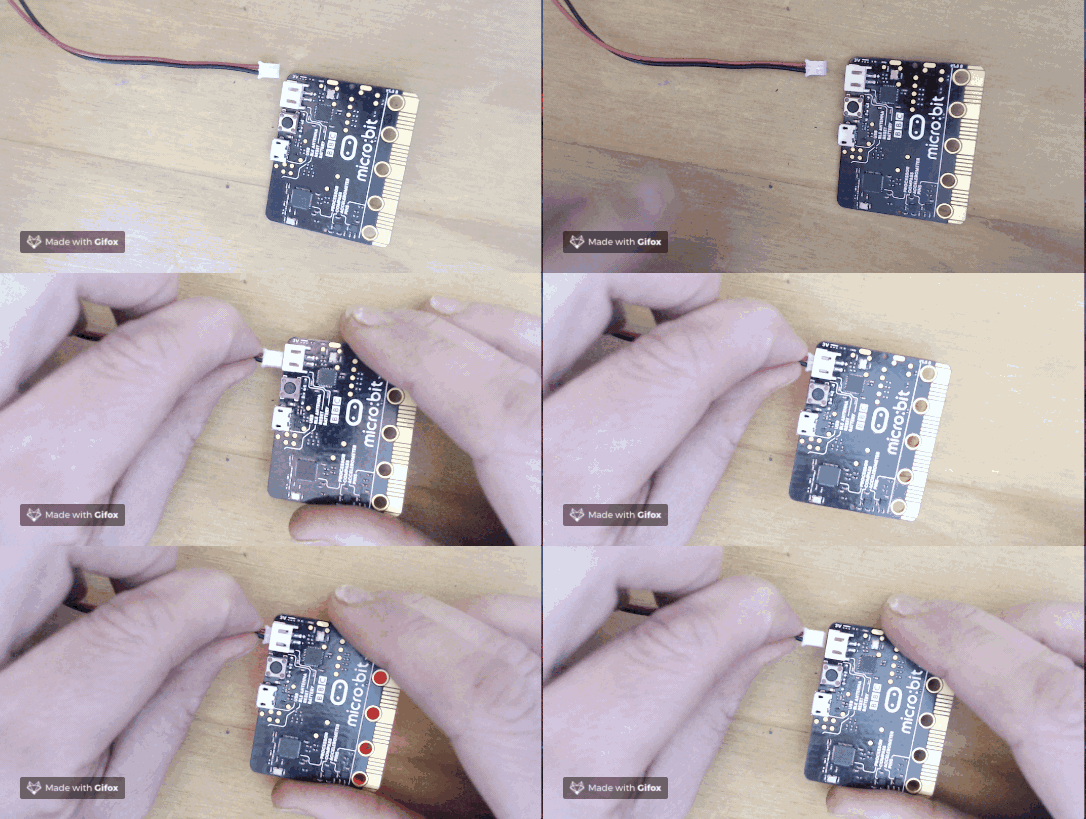
The battery connector is in the back of the micro:bit and requires a special cable ending.
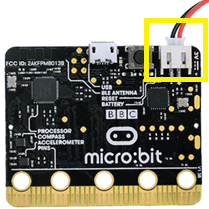

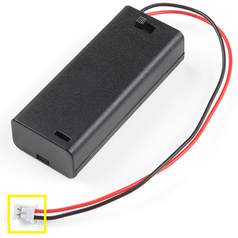
Here is a video of how to connect the battery:
¶ Process
When you've completed the circuit, the LED should light up.
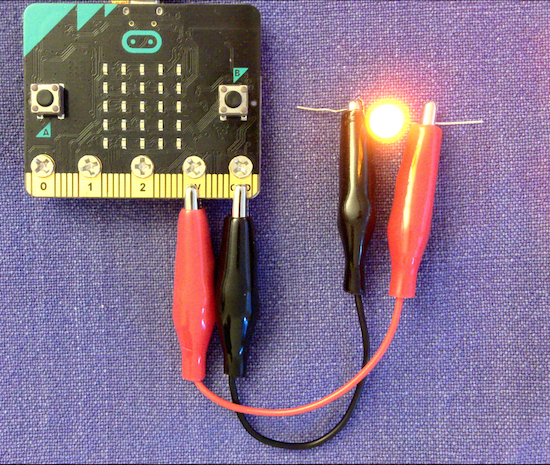
If the LED doesn't light up, check your connections and make sure that your micro:bit has power from either a laptop or a battery pack.
If it still does not light up, check the LED connections. LED's only allow electricity to flow through them in one direction. If they are connected backwards no electricity will flow and the LED won't light.
Components like the LED where the direction of the electrical flow matters are said to have polarity. In circuit diagrams, one leg of a polarized component is marked with a plus sign (+) and the other side is marked with a negative sign. If you trace the circuit starting from the positive side of the power supply (3v) and going to GND, the path should should enter polarized components on their + leg. The longer leg of an LED is the + leg.
Once the LED is lit, disconnect the alligator clip connected to the 3v pad. The LED will go out.
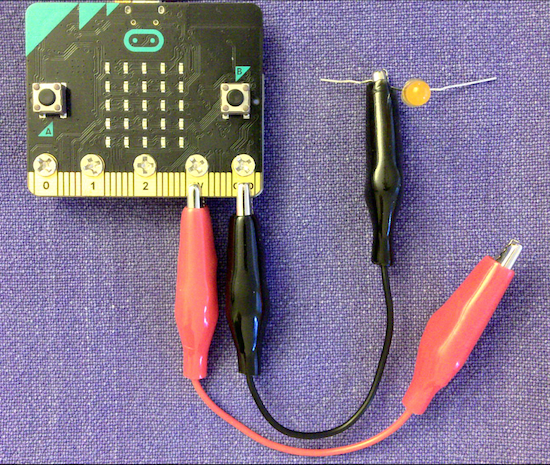
Reconnect the alligator clip connected to the 3v pad and the LED will light up again.
This is how a switch works. When the switch is on, two pieces of metal inside it touch, allowing electricity to flow. When it is off, the two pieces of metal are separated, preventing the electricity from flowing.
¶ Discussion
An electrical circuit consists of a power source such as a battery and an electrical device such as a light or motor connected together with wires. The wires create a path that allows electricity to flow from the positive (+ or 3v) side of the power source through the device and back to the negative (- or GND) side of the power supply. This circuit uses a micro:bit as its power supply.
An unbroken conductive path starting at the positive side of the power source and ending at the negative side of the power supply is called a closed or complete circuit. ("Circuit" means "loop".) It allows electricity to flow, making the LED light up.
When you disconnected the alligator clip from the 3v pad, it became an open circuit. An open circuit is like a blocked road -- electricity can't get through because it has nowhere to go. When the electricity stops flowing, the LED goes out.
A switch turns a closed circuit into an open circuit or vice versa. Disconnecting an alligator clip is like turning off a switch.
You can make your own switches out of all sorts of things. Use insulators such as paper, cardboard, plastic for the body of the switch combined with conductors such as wire, paper clips, or aluminum foil that you can move to open or close the circuit.
Here's an example:
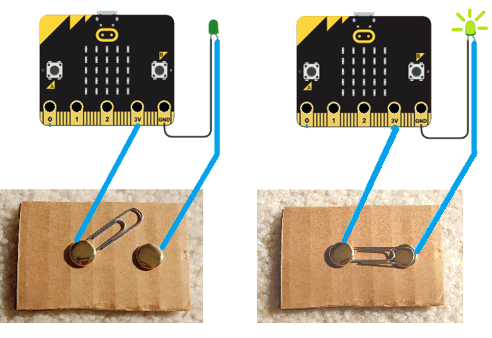
| Switch Open | Switch Closed |
|---|