¶ Overview
A resistor is an electrical component the resists the flow of electricity. Resistors are one of the most useful electrical components because they can control both the current (amount of electrical flow) and voltage (strength of electrical push) in a circuit. By controlling the current, a resistor can control the brightness of an LED.
Here are is the same LED circuit with different resistors:
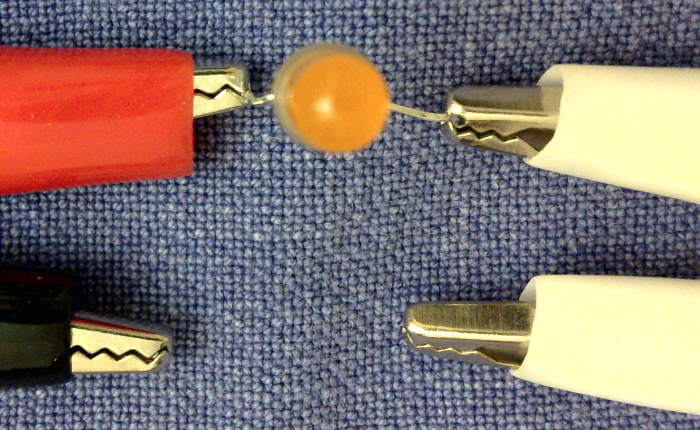
LED off (an open circuit)
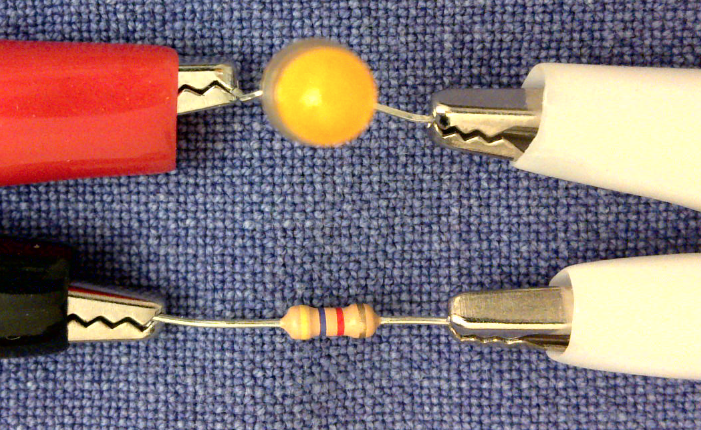
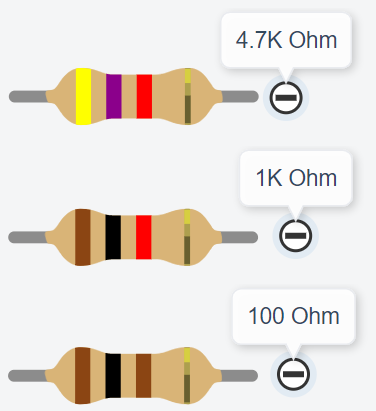
4700 Ohms (4.7k Ohms, yellow-violet-red)
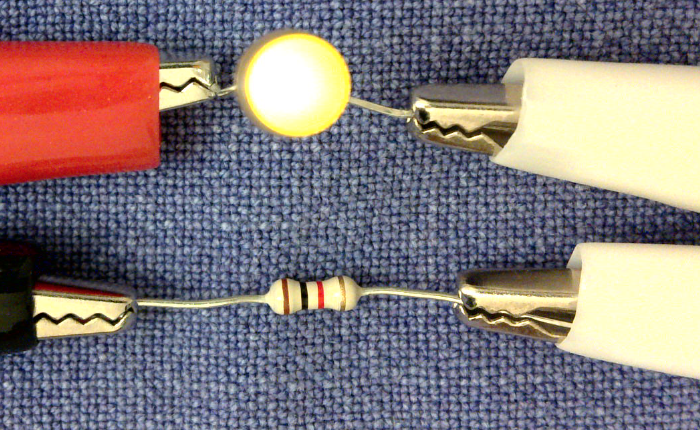
1000 Ohms (1k Ohms, brown-black-red)
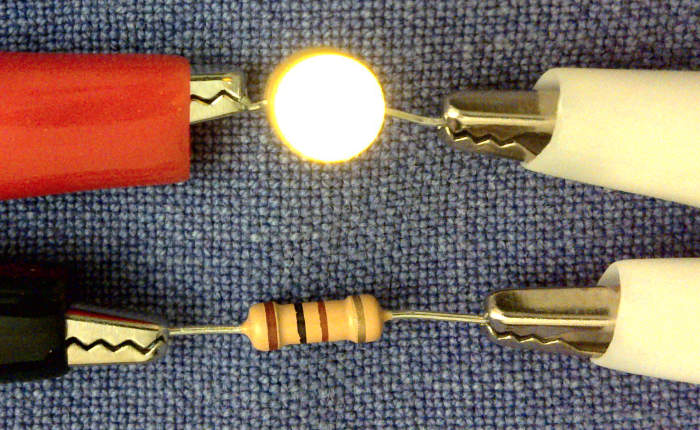
100 Ohms (brown-black-brown)
Although the resistors look similar, they have different resistance values. Their resistance value is encoded with colored bands. As you can see, the larger the resistance, the dimmer the LED. With a 100 Ohm resistor the LED shines brightly but with a 4.7k Ohm (4700 Ohm) resistor, it just emits a faint glow.
¶ Parts
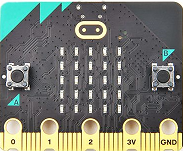
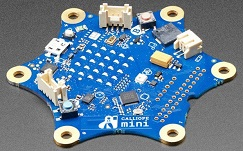
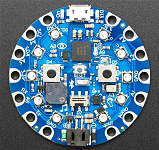
| a micro:bit | OR a compatible micro device | |
|---|---|---|
 |
 |
  |
-
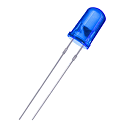
a single-color LED (any color)
-
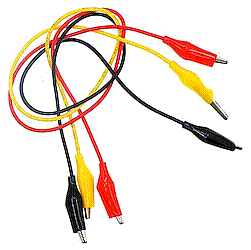
three alligator clip cables
-
three resistors: 100, 1k, and 4.7k Ohms (similar resistors in that range can be substituted)

¶ Setup
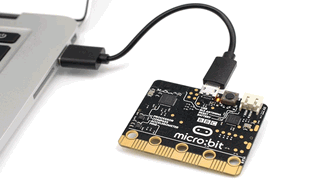
This project does not involve any coding. For power, you can either connect your micro:bit to a computer or connect a battery pack to the micro:bit.

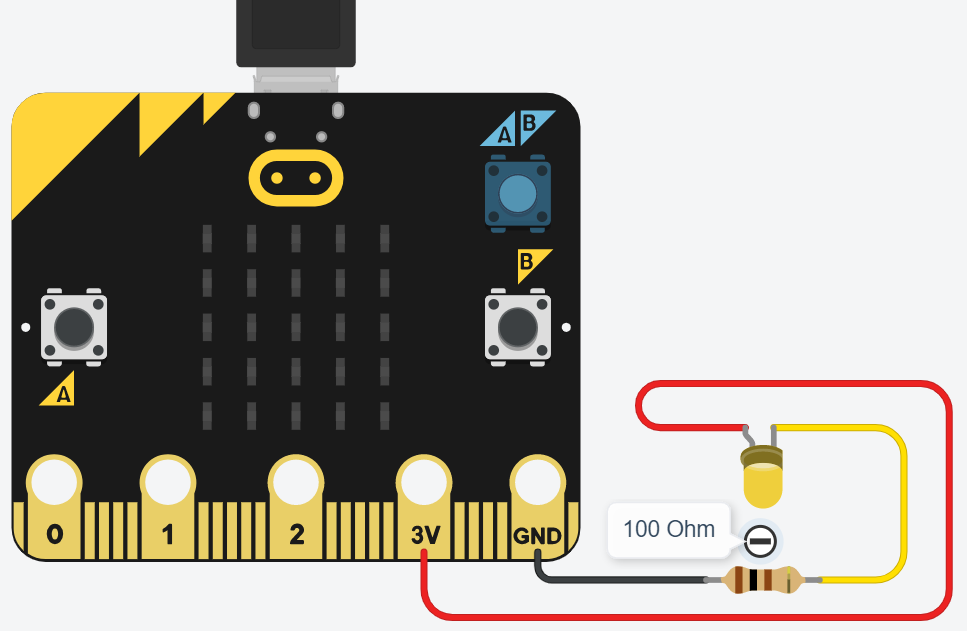
- GND to one side of the resistor,
- the other side of the resistor to the short leg (-) of the LED,
- and finally the long leg (+) of the LED to the 3v pad.
If the LED does not glow, make sure that your micro:bit has power. It should be plugged into the USB port of a computer or have a battery pack attached. If the LED still doesn't glow, check the polarity of the LED. The longer leg should be connected to the 3v pad.
¶ Process
Once the LED is lit, notice how bright it is. Now replace the original resistor with one of the other resistors. Is the LED brigher or dimmer than before? Try all the resistors and lay them out in order,from dimmest to brightest.
The colored bands on the resistors are a code that indicates how much electrical resistance they have. The unit of resistance is the Ohm, often abbreviated with the Greek letter omega (Ω). Here is a handy guide that will help you find the value your resistors:
https://www.build-electronic-circuits.com/resistor-color-codes/
Notice that a larger resistance value (e.g. 1000 Ohm or 1k) makes the LED dimmer than smaller one (e.g. 100 Ohm).
¶ Discussion
Electrical circuits are like plumbing: electrical current flows through wires the way water flows through pipes. A power source (micro:bit or battery) is like a pump that creates water pressure (voltage), wires are like pipes, and a resistor is like a narrow section of pipe the limits the flow of water (current). The higher the resistance, the smaller the pipe, so the less current flows.
An open circuit is like a dead-end pipe with a cap on the end. Since there's nowhere for it to go, the water doesn't flow at all.
Here's another way to think about voltage, resistance, and current:
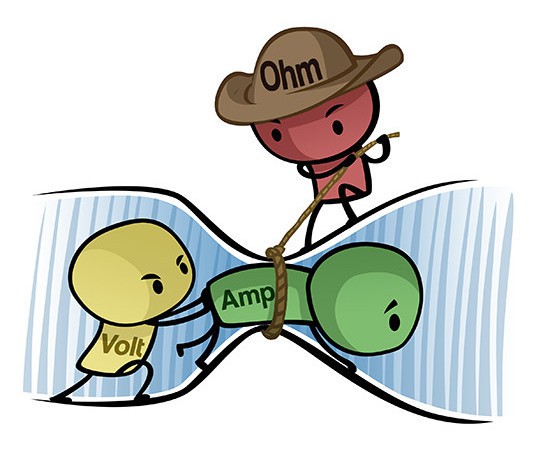
- voltage pushes,
- resistance resists,
- and current is the resulting amount of electrical flow.
The more current that flows through the LED, the brighter it gets. Changing the amount of resistance changes how much current flows, making the LED brighter or dimmer.
One can also change the amount of current by keeping the resistance the same and changing the voltage. For the same resistance, doubling the voltage will double the current. This relationship is called "Ohm's Law", the most useful equation in electronics. Ohm's law is summarized by this picture from https://www.build-electronic-circuits.com/ohms-law:
As the current through an LED increases, so does its brightness, but there is a limit. At some point, the LED will become hot and burn out. Fortunately, the original micro:bit's power supply can't push enough current to burn out most LED's. As you saw in the first project, you can connect an LED directly to the 3v and GND of the original (v1) micro:bit and it lights brightly but does not burn out.
WARNING: That shortcut does not work with the micro:bit v2, which has a more powerful power supply.
If you work with the micro:bit v2 or most other power sources you'll need to use a current limiting resistor to control the current through your LED, just as you did in this project. The exact resistance is not critical. 330 Ohms is enough resistance to protect an LED powered by up to 9 volts.
If you want to maximize the brightness of your LED without burning it out, you can use Ohm's law to compute the exact resistance needed for a desired current. Most LED's work well with 20-40 milliamps. The computation is described here:
https://www.build-electronic-circuits.com/current-limiting-resistor/