¶ How to manage a smart home with complete privacy
Although you can make your own motion sensors, temperature sensors, alarms, and other small electronic devices as stand-alone projects, managing them as a "system" becomes complex if you have to change the code on each device in order to automate interactions between them. This project instead lets each MicroBlocks-based "smart home" device remain simple, and shows you how to tie them together as a system using the free and open source WebThings Gateway software running on a Raspberry Pi (RPi). The solution is completely private (data and processing stay local to the RPi), and it uses standards of the world wide web, so that you can see, sense, and manage all your smart devices together in one place, with a simple user interface available using any modern web browser.
¶ Private smart home gateway
To take advantage of tying your smart devices together via "the web", you will need to set up and configure a WebThings Gateway. No programming is required to set up a gateway. There are several OS options for running the gateway application, but for the purpose of this tutorial, we will assume use of the RPi.
¶ WebThings Gateway setup and configuration
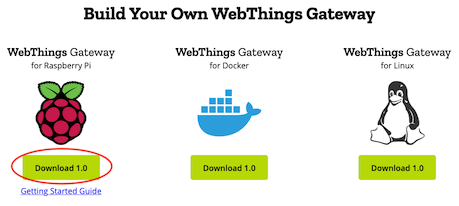
- download the gateway image for RPi from https://webthings.io/gateway
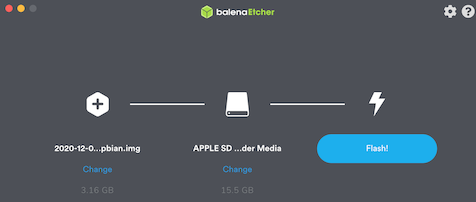
- flash the image onto a uSD card, using a tool such as Balena Etcher
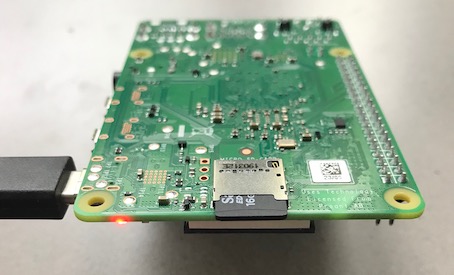
- insert the uSD card into the RPi and power it up
- configure the RPi using Wi-Fi
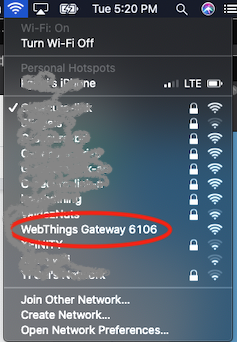
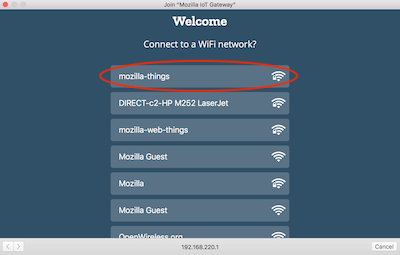
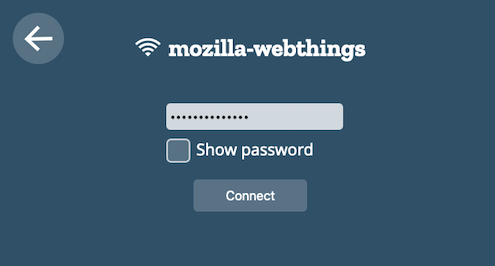
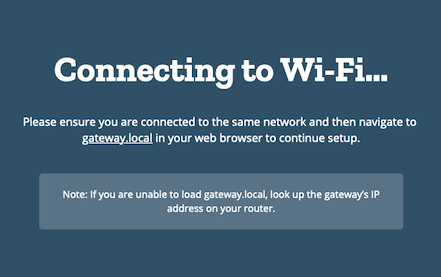
- or configure the RPi using Ethernet
- generate a subdomain (used for remote access with secure https)
- create a user account
- configure settings
- install the MicroBlocks add-on
- create some web things and play
Details for steps 5-8 are available in this out-of-date tutorial.
¶ Private smart home web things
You can buy plenty of commercial off the shelf smart home devices. Many can be tied to your gateway using an "add-on". Products using Zigbee, Z-wave, and other non-IP wireless protocols also require connecting a radio bridge (e.g., USB dongle) to the RPi gateway. But the nice thing about locally bridged devices is that you can be confident of having private control over them. When you install IP cameras and other IP devices, you have to investigate whether those devices require being connected to the vendor's cloud infrastructure, or not.
¶ How to create your own web thing (HelloLED example)
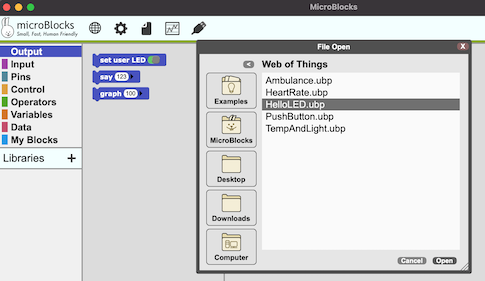
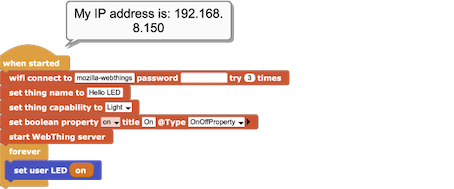
Using the MicroBlocks "Web Thing" library, it's quite easy to create your own web things. A simple starter example is available directly within the MicroBlocks IDE. From the MicroBlocks File menu, select Open, select the Web of Things folder, highlight the example called HelloLED, and then click Open. As long as you have a board that supports turning on and off a built-in user LED, this example should work to make that LED "smart". (Note: Using this example, the micro:bit and Circuit Playground boards support slightly fancier on/off visuals.)
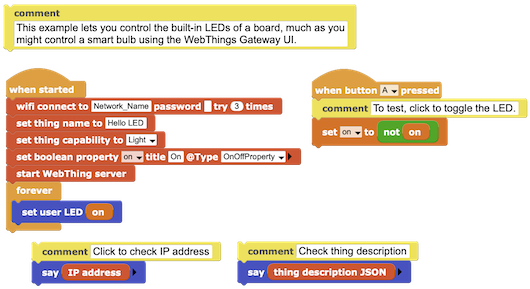
Basic "smart" LED control works by defining a few Web Thing blocks, then setting the user LED to match the state of the "on" variable which is also tied to the web thing OnOffProperty. After creating this basic example or loading the HelloLED example, make sure to click the green start button. If your board supports Wi-Fi, you can immediately test connecting to the WebThings Gateway. Otherwise, disconnect the board from your laptop and plug the USB cable into the RPi, as described in the next section.
Make sure to click the green start button before disconnecting the microcontroller from your laptop. On the gateway, discover and add the new web thing device, so that you can manage it from anywhere!
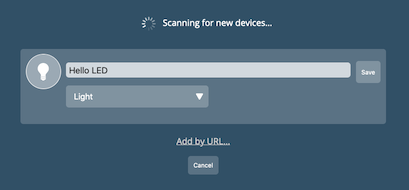
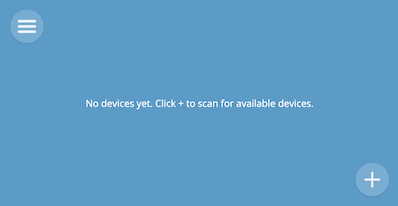
On the Things page click +.
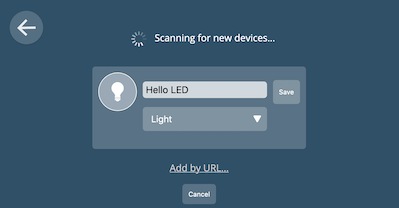
When device is discovered, click Save.
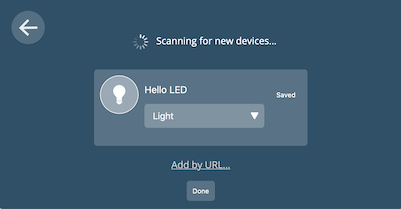
Then click Done.
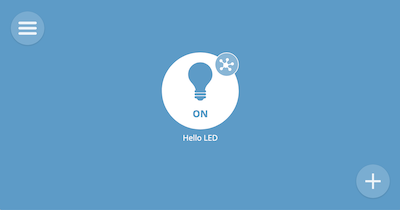
Now you can control your device by clicking the main icon.
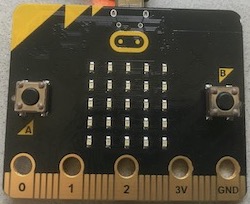
Off state.
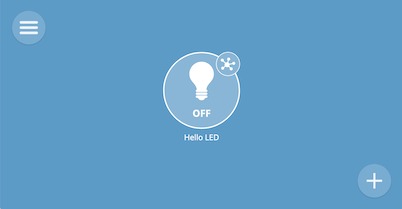
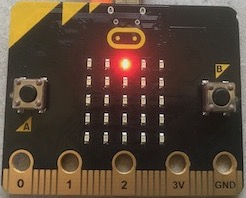
On state.
¶ Connectivity methods between web things and the gateway
Three main options exist for connecting your own microcontroller-based web things to the WebThings Gateway.
- USB serial
- Wi-Fi
- wireless bridge
¶ USB serial
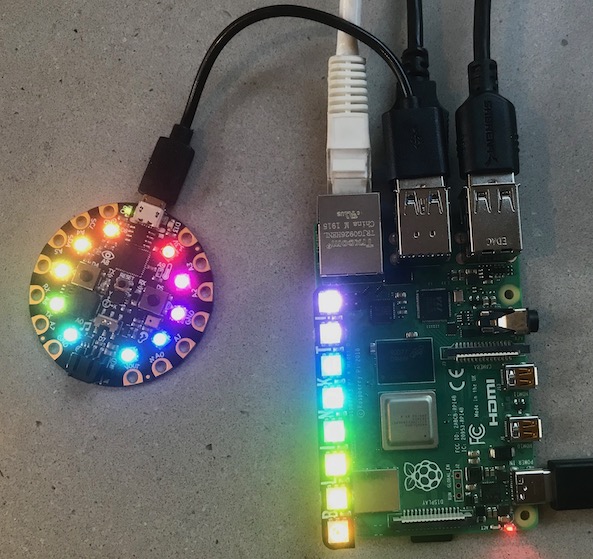
For the USB serial option, simply plug your microcontroller into one of the RPi (gateway) USB ports. Make sure the MicroBlocks Add-on is installed and enabled. Then from the gateway "Things" page, click the (+) icon in the lower right corner. The connected device should automatically be "discovered". You can change the name (if desired) before saving it. If you plugged in and discovered more than one device, save each one before clicking "Done".
Connected Circuit Playground Express programmed with Hello LED example.
¶ Wi-Fi
For Wi-Fi devices, simply enter the Wi-Fi network credentials in the MicroBlocks "wifi connect to ..." block. If a successful connection occurs, the IP address of the microcontroller will automatically be shown within the MicroBlocks IDE. (Or you can click on the "say IP address" block.) You don't even need a gateway to check if it works. Simply type the device IP address into your web browser and you should see the JSON web thing description.
¶ wireless bridge
The wireless bridge option requires using a pair of microcontrollers that each support the same radio protocol. One microcontroller is connected to the gateway as a USB serial device, identical to option 1. But that microcontroller will also need to communicate wirelessly to remote microcontrollers. The remote devices can then be managed by the gateway, as long as they are in range of the bridge. The "bridge" microcontroller would be programmed with the Web Thing library blocks, and the remote devices would present their sensor states or enable actuation via simple radio communication. MicroBlocks supports a simple "Radio" protocol for Nordic Semiconductor boards (nRF51 and nRF52) that works very well for wireless bridge links. (Supported hardware examples: micro:bit v1 and v2, Adafruit Circuit Playground Bluefruit, and Adafruit Clue.)
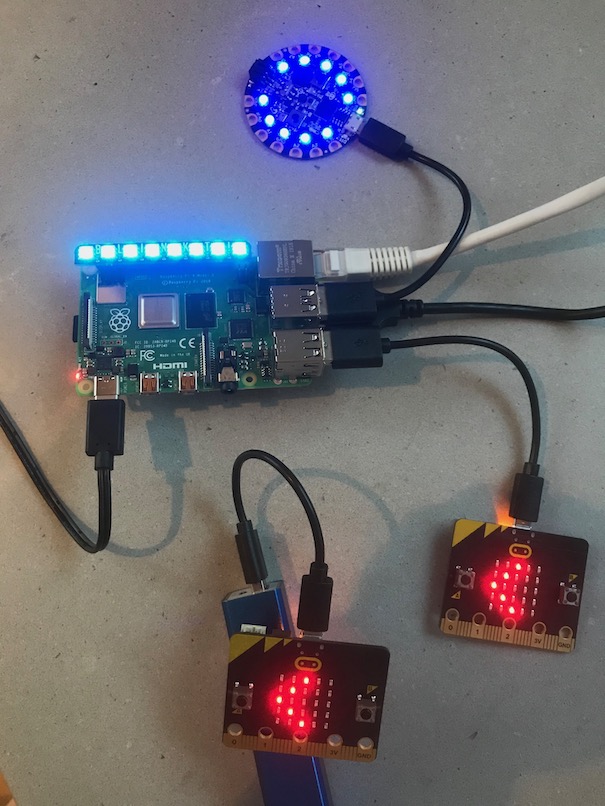
One micro:bit is connected over USB to the gateway, and acts as the web thing bridge. The other micro:bit just needs power and to be within radio range of the bridge so that it can act as a remote pushbutton. In this case, a rule on the gateway detected the pushbutton press and acted to turn the other smart LEDs on.
